Beloved for its ability to attract a number of pollinators, you might be wondering what you can do with bee balm seeds. Can you directly sow these seeds to produce flowering plants, or should you start your bee balm plants indoors? Whether you are a pro gardener or a relative novice, growing bee balm or wild chamomile from seed is easier than you think.
You can direct sow or transplant bee balm seeds, though transplanting is often the preferred method. Start your seeds indoors, two months before your final spring frost date, and make sure they have plenty of light to germinate. Keep your seedlings moist but not overwatered, and plant bee balm outdoors once the weather has warmed!
But why should you consider planting bee balm seeds, and can you harvest seeds from your own plants? Here’s everything you need to know about bee balm and growing it for yourself!
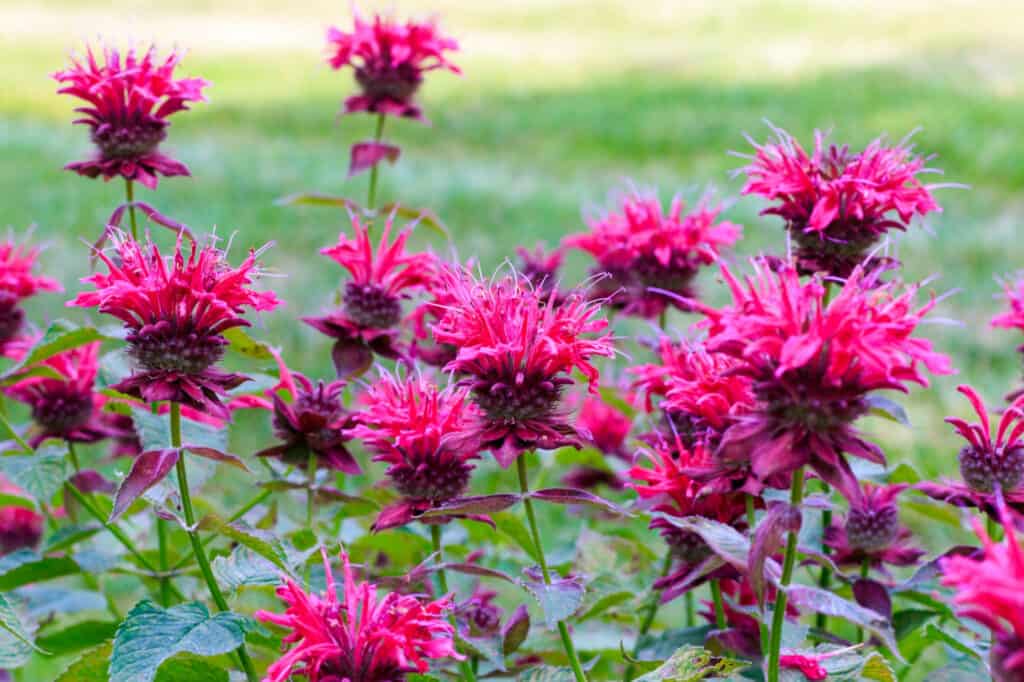
Bee balm comes in many colors.
©Bryan Pollard/Shutterstock.com
| Bee Balm Seeds | How to Grow |
|---|---|
| Hardiness Zones | 3 through 9 |
| Number of Bee Balm Varieties | Less than 20 species, but many different cultivars |
| Time of Year to Germinate Seeds | 2 months before your final spring frost date |
| Time of Year to Plant Seedlings | Early to mid-spring |
| Things to Note | Bee balm flowers smell vaguely of bergamot orange, giving them their common name of wild bergamot! |
Types and Varieties of Bee Balm Seeds
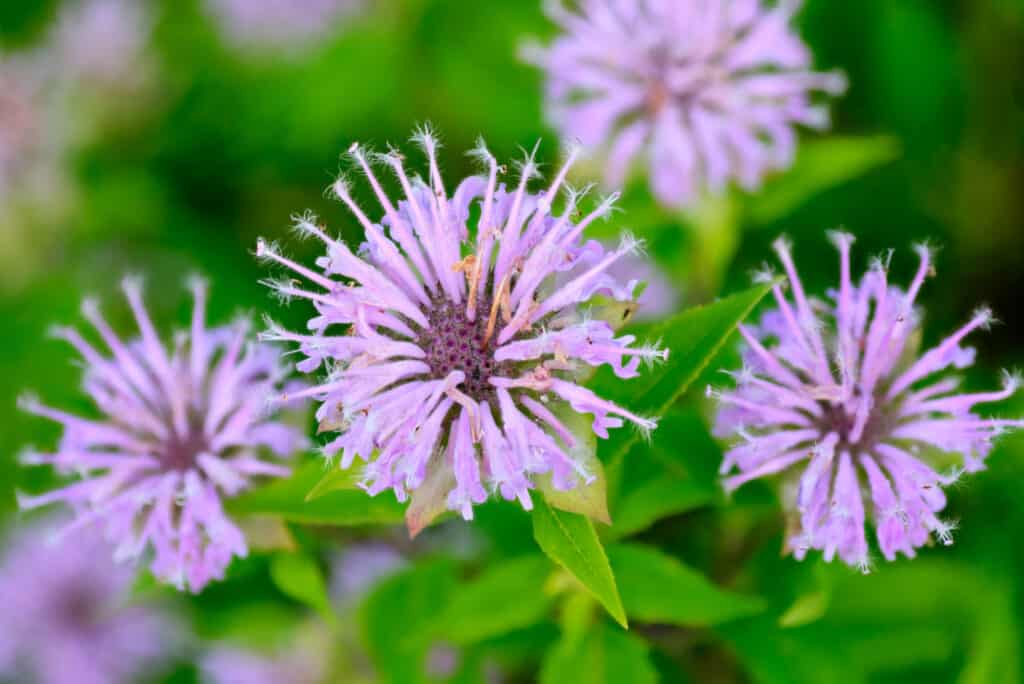
Bee balm attracts many pollinators.
©damann/Shutterstock.com
While bee balm plants are ideally grown for their ability to attract pollinators, you may be seeking a specific type of bee balm to match your backyard or garden landscaping. There are less than 20 different species of bee balm plants, with 5 or fewer commonly cultivated for garden environments. Here are some of the most popular bee balm cultivars or varieties for you to consider:
- “Balmy Pink“. Beautiful magenta flowers reach up to a foot tall. It will grow all the way until the end of summer if planted in partial shade.
- Purple Rooster. While this variety doesn’t produce as many deep purple blooms as others, it is highly resistant to diseases.
- “Squaw“. Reaching up to four feet tall, this bee balm variety produces red flowers that create a lovely contrast to its bright green leaves.
- “Spotted“. A uniquely growing bee balm known for its spotted petals, spotted bee balm is popular for both its foliage and blooms.
- “Bradbury“. Also known as eastern bee balm, this variety produces fluffy white flowers that change color with the seasons.
Germinating and Growing Bee Balm Plants from Seed
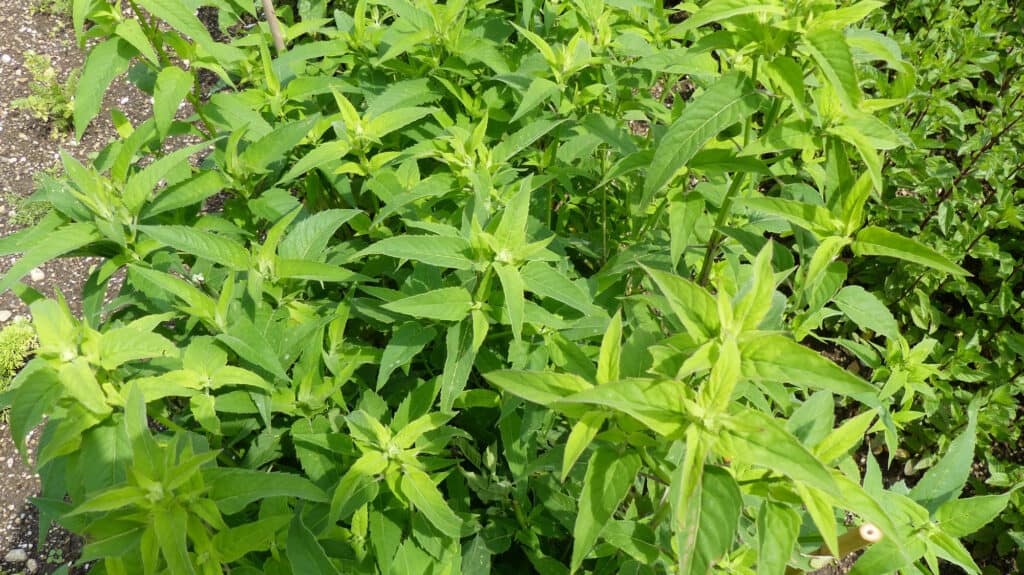
Bee balm produces many flowers.
©guentermanaus/Shutterstock.com
Whether you want to directly sow your bee balm seeds into your garden or start your flowers indoors, here’s our step-by-step guide for how to best germinate and grow bee balm!
- Start your seeds in flats or peat containers indoors. Roughly 2 months before your final spring frost date, you should start your bee balm seedlings. Use peat pots so that you can directly plant your plants in soil, or start an entire large flat of bee balm! Sow an average of 5 seeds per pot or area, as not all bee balm seeds will be viable.
- Don’t cover your seeds, and ensure that they have plenty of light. Whether you start your seeds outside or in, make sure they get plenty of sunlight, as this is key to their germination process. There’s no need to cover your bee balm seeds with soil, which is why planting them outdoors can be difficult- a simple breeze can move your seeds where you don’t want them to be!
- Water with care. Given that your seeds aren’t buried, they can easily get washed away. Gently mist your seeds and seedlings as they grow, ensuring that they have a fairly consistent moisture level.
- Keep your seeds above 70 degrees Fahrenheit. One of the reasons why bee balm is best started indoors is because they are fairly susceptible to cold temperatures. Directly sowing your seeds outside at too early a date could kill your young plants. If starting your seeds indoors, keep them warm as they grow. Most bee balm varieties germinate after one month, and should be ready to go outside after two months!
Transplanting Bee Balm Grown From Seed
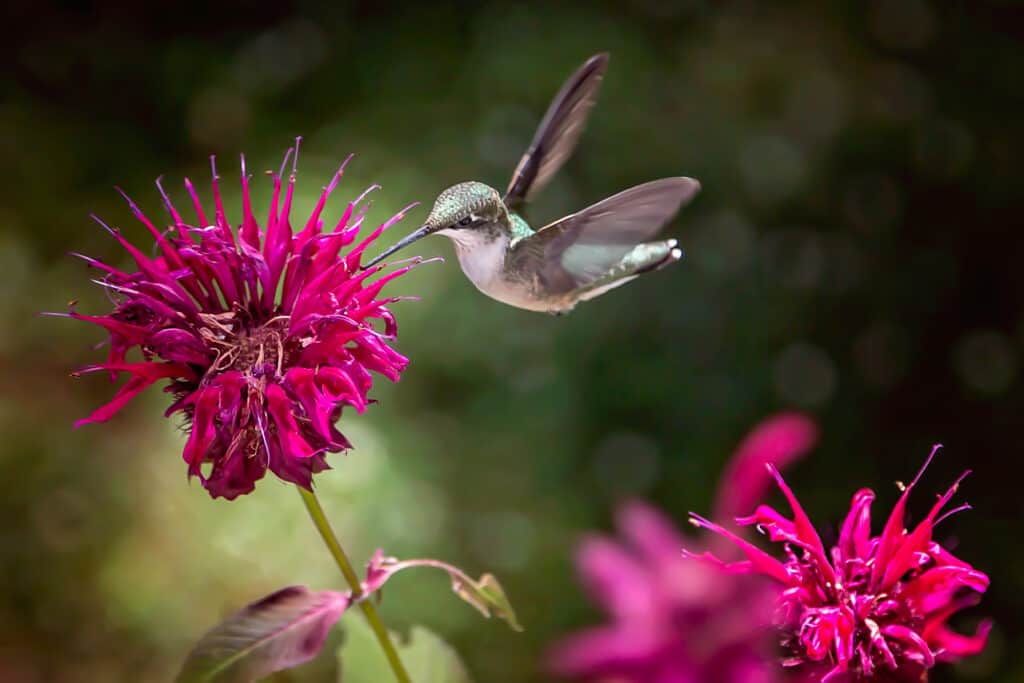
Bee Balm flower leaves are fragrant and smell like bergamot oranges.
©iStock.com/Cavan Images
Once your local temperatures have risen enough, you can safely transplant your bee balm starts outdoors. Here’s how to best space and plant your new seedlings so that they grow successfully:
- Remove all weeds and stones from your desired planting area. Bee balm enjoys some compost when it is first planted, and make sure you have chosen an area that gets full sun and plenty of air circulation. This pollinator favorite is particularly susceptible to mildew growth, so keep an eye on it or choose a more resistant variety.
- Space your plants 1-3 feet apart. Depending on the size of your chosen cultivar, you should space your bee balm plants an average of 12-18 inches apart and even more with some varieties. Keep in mind that you can always divide and transplant your bee balm as it ages, but taking the time to space your plants properly should help with mildew development!
- Water deeply, and add mulch if weeds persist. Once planted, bee balm doesn’t need much in terms of care. Just be sure to water deeply once your new seedlings get planted, and avoid getting the leaves wet!
Harvesting Bee Balm Seeds
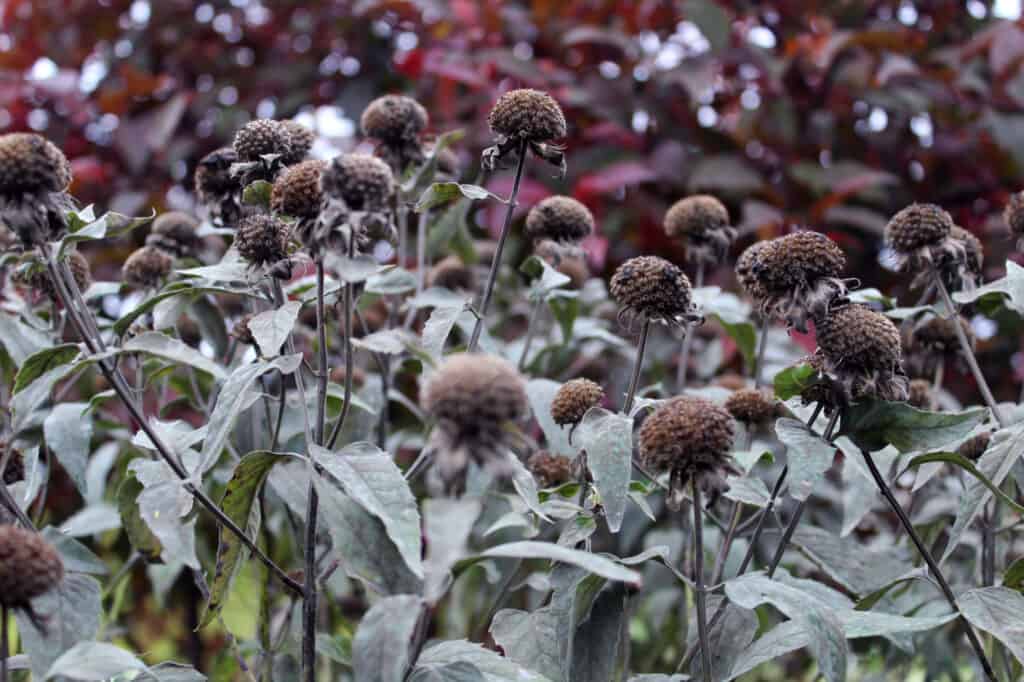
Bee balm regularly reseeds itself.
©Jckfreder/Shutterstock.com
Did you know that you can harvest bee balm seeds from your very own plants? Considered a perennial, bee balm readily goes to seed at the end of each summer, if the flower heads are left to their own devices. However, you can always harvest your bee balm seeds for even more growth opportunities!
Simply wait until your bee balm blooms have turned brown and dried out. You’ll likely notice seeds where your flowers once were. Cut your bee balm stalks roughly two inches above the ground, and take care not to jostle them too much. The seeds are easy to break loose, and you may end up with some surprise plants the following spring if too many bee balm seeds spill!
Up Next
- Cosmos Seeds: Easily Grow This Annual Flower!
- Columbine Seeds: How to Plant and Grow This Perennial Beauty
- Hosta Seeds: How to Plant and Grow This Versatile Beauty
The photo featured at the top of this post is © damann/Shutterstock.com
Sources
- Monarda, Bee-balm, Available here: https://link.springer.com/chapter/10.1007/978-1-4020-4428-1_28
- First Report of Powdery Mildew Caused by Golovinomyces monardae on Scarlet Beebalm (Monarda didyma) in China, Available here: https://apsjournals.apsnet.org/doi/full/10.1094/PDIS-08-21-1803-PDN
Thank you for reading! Have some feedback for us? Contact the AZ Animals editorial team.


