
Orchids are known for being exceptionally hard to grow. You’ll need to monitor the orchid’s health very closely, including their leaves. Then, if you notice something off (like them turning yellow), you need to dive in and fix it. Here are the most common reasons orchid leaves turn yellow, allowing you to do just that.
There are five main reasons why you may notice your orchid leaves turning yellow. Once you’ve narrowed down the yellowing to a specific reason, it’s time to fix it.
We’ll examine these five reasons and their fixes below.
1. Overwatering
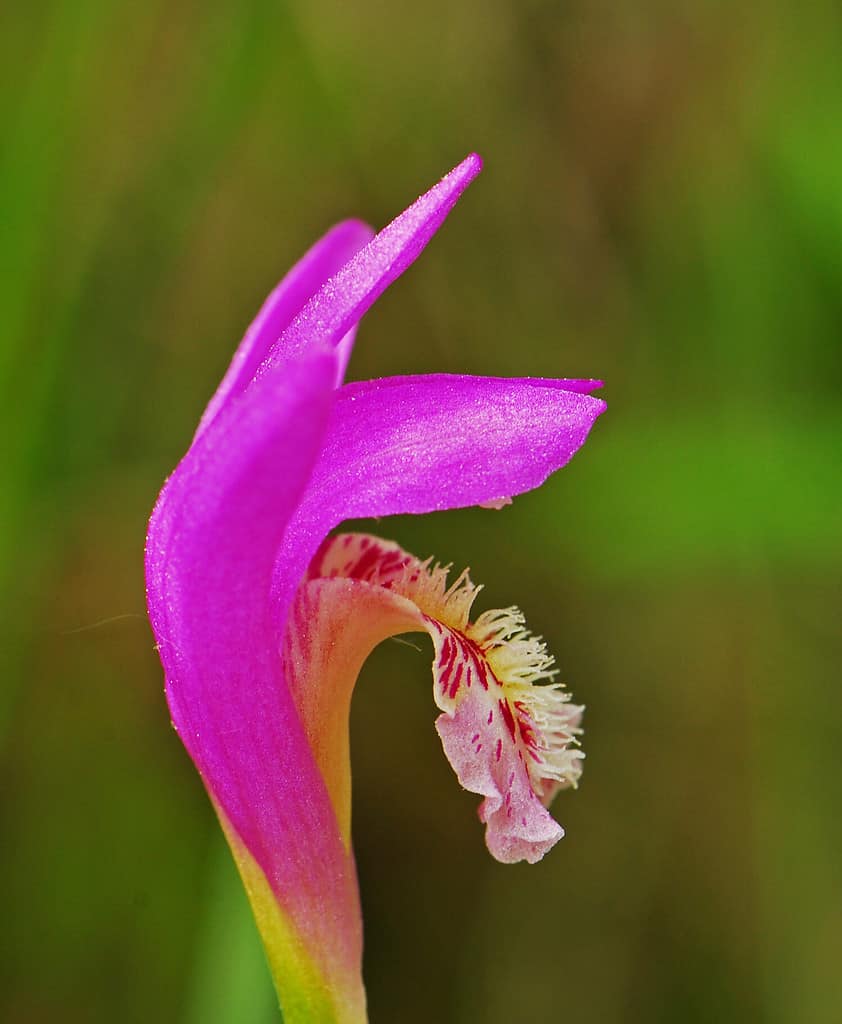
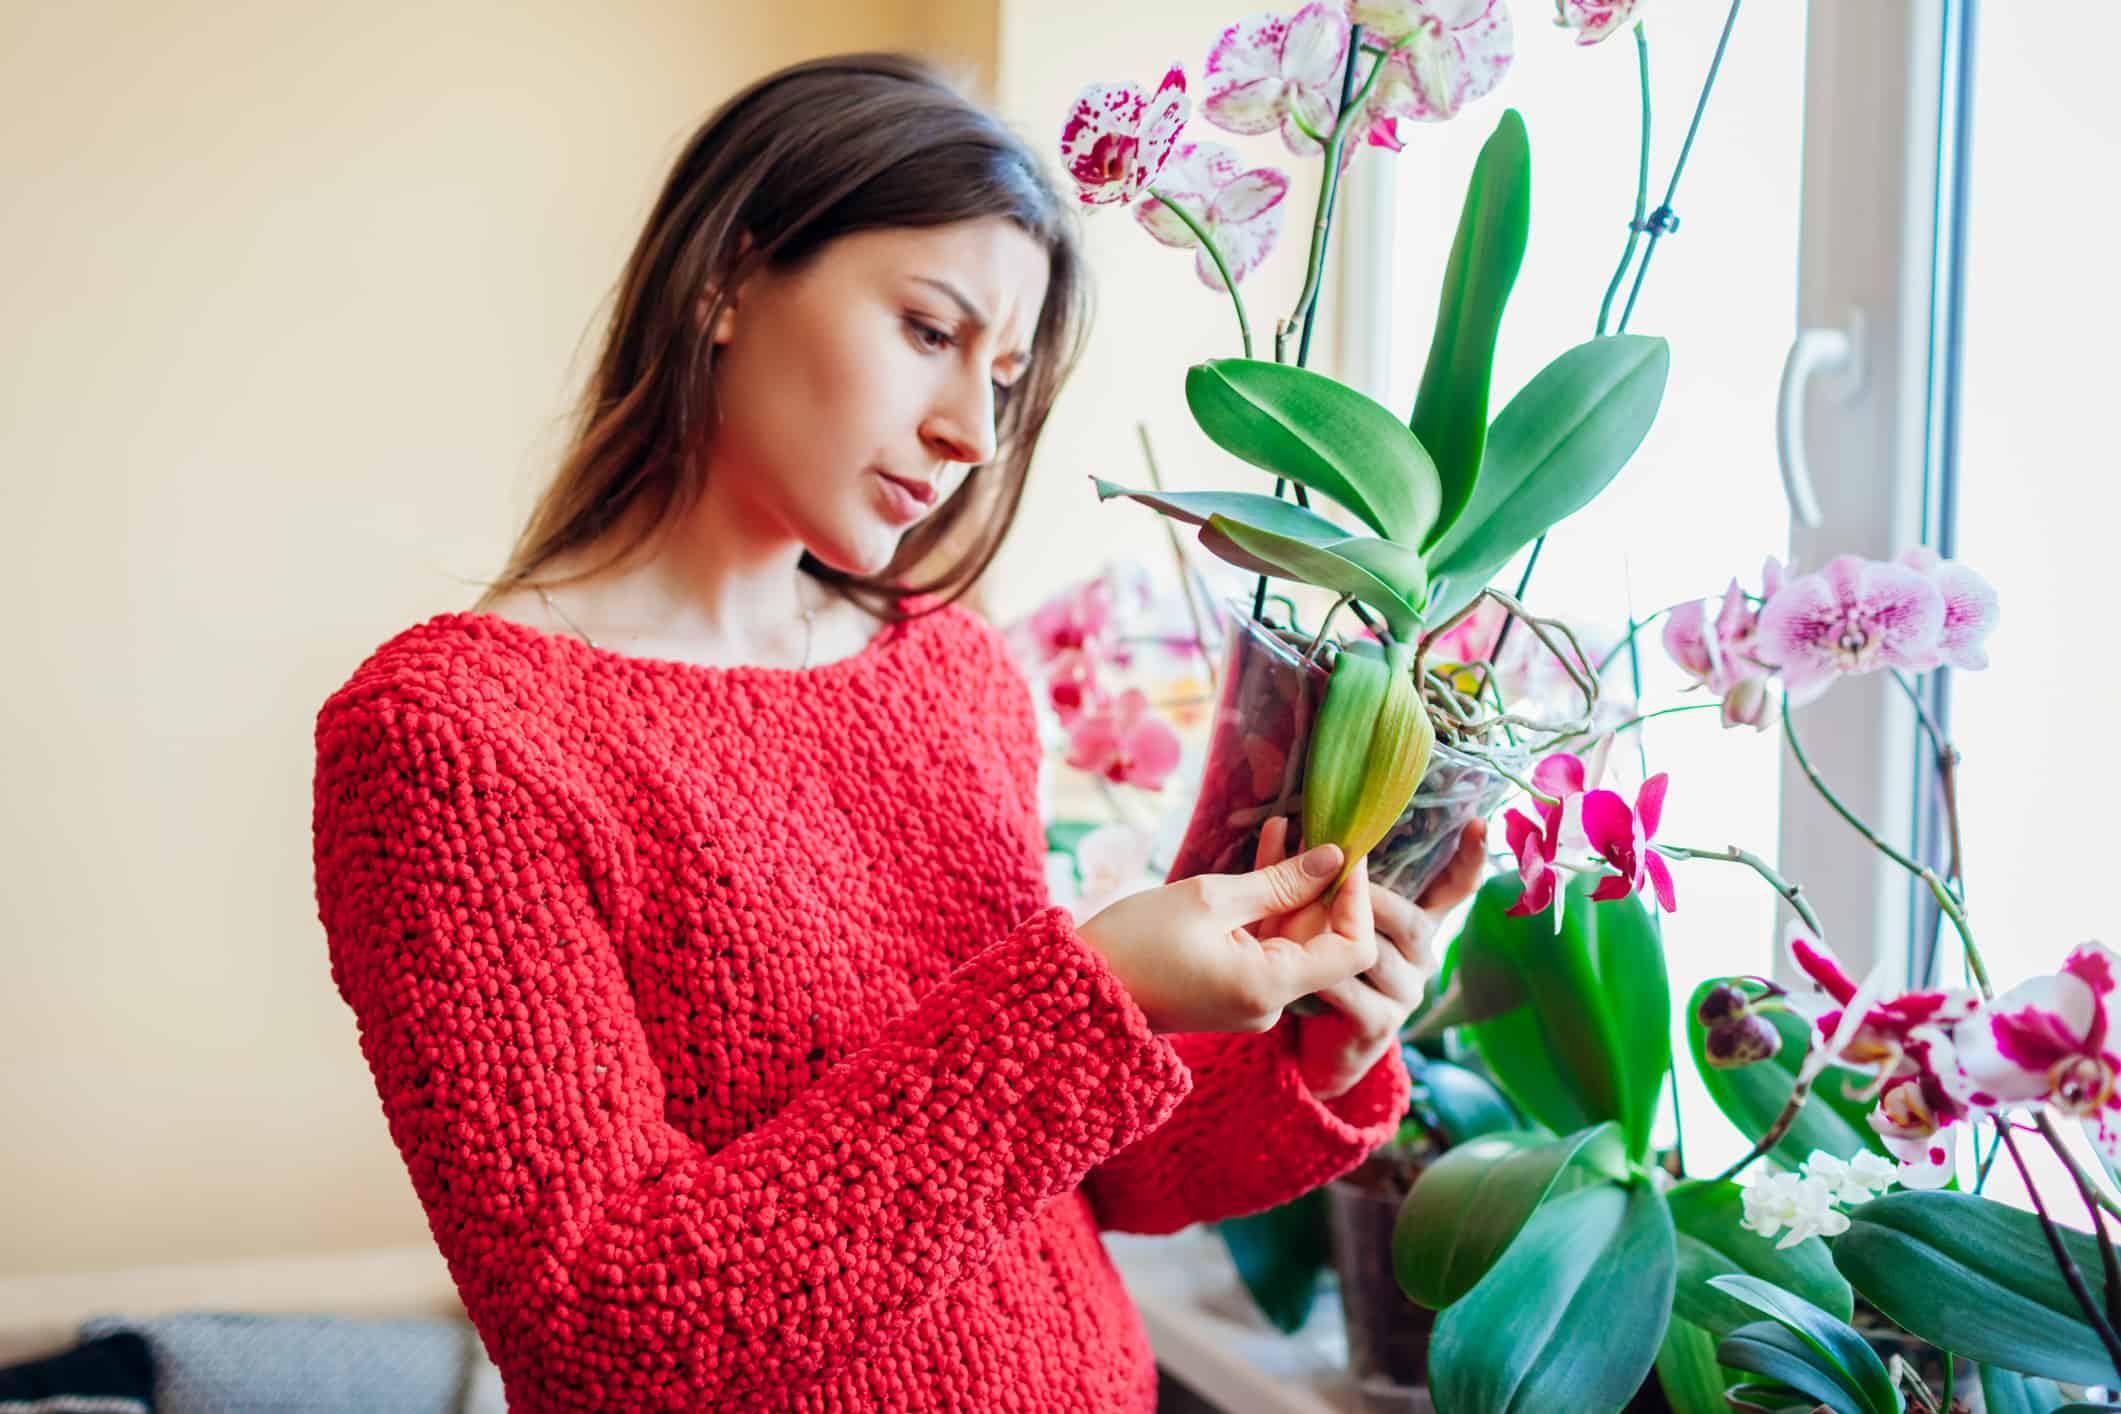
Orchids are drought-resistant flowers, so they don’t need to be watered all that much.
©konjaunt/Shutterstock.com
When caring for plants, it is very common for people to overwater. Often, new orchid caretakers are worried about underwatering, which just leads to them overwatering. While both of these watering issues are bad for the plant, overwatering tends to be very common.
Orchids are epiphytic plants, meaning they naturally grow on trees or rocks in their native habitats. They have adapted to environments where their roots are exposed to air, allowing them to breathe. Overwatering disrupts this balance, causing roots to become waterlogged and suffocated.
When the leaves cannot access this air, the whole plant struggles.
The most common signs of overwatering include:
- Yellowing leaves. That’s what this whole article is about! If your plant’s leaves are yellow, it could very well be from overwatering.
- Soggy potting mix. Suspect overwatering if you notice too much water in your plant’s pot. The soil should not be waterlogged.
- Root rot. Over time, overwatering will cause the roots to rot. Often, this is hard to see without digging up the plant, which we don’t recommend. However, you may notice the top of the roots being brown and mushy – or even the whole plant smelling bad.
How to Fix it
Fixing this issue is pretty straightforward. You’ll need to water less. Typically, orchids need watering once every 1-2 weeks. You may also need to change the potting mixture if you don’t feel like you’re watering too often. Orchids need a very well-draining soil to allow air to circulate around the roots.
The pot’s drainage can also be a problem. Ensure the pot has plenty of drainage holes to allow the flow of excess water.
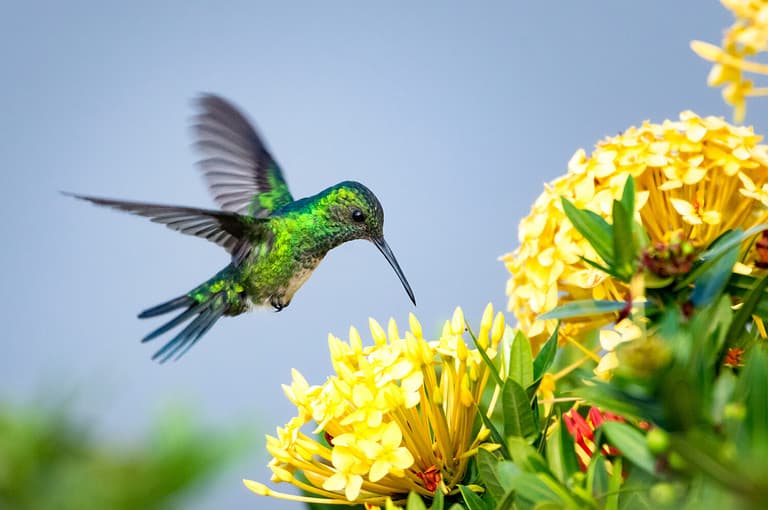
2. Underwatering
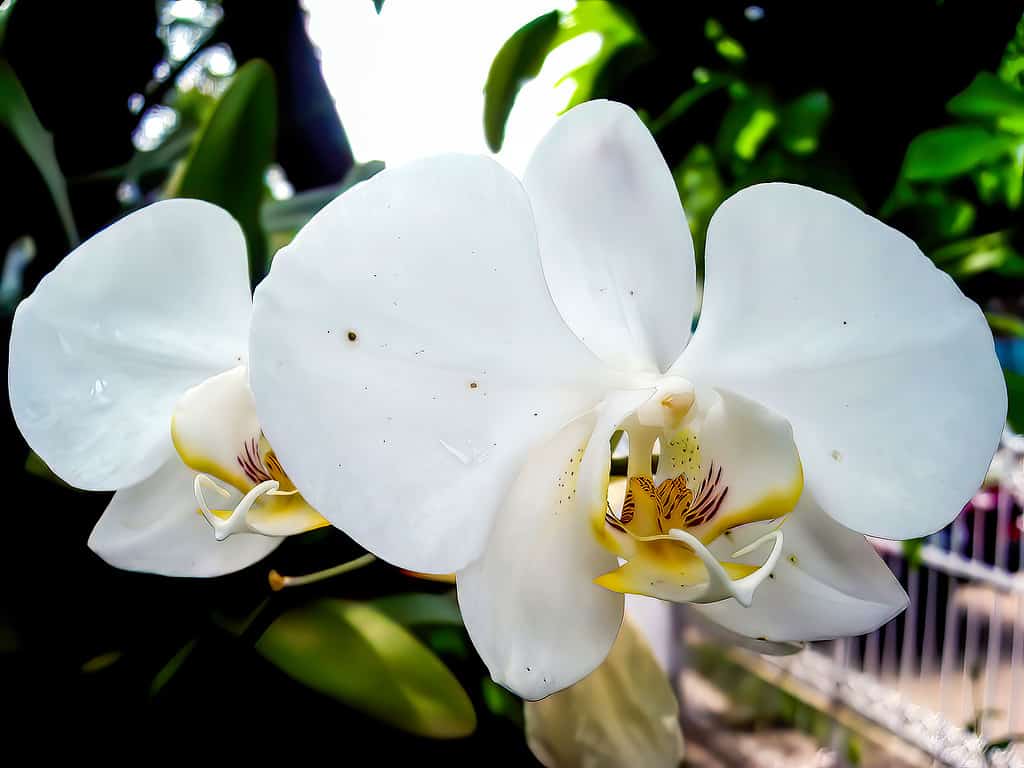
There are many types of orchids, and each may have its own watering requirements.
©Nancy Bauer/Shutterstock.com
Overwatering is a common mistake, but underwatering can also cause yellowing leaves. Orchids tend to be very good at storing water, which means that they don’t need watered all that often. They are often fairly good at storing water in their pseudobulbs and other specialized structures.
In their natural habitat, drought is common. Therefore, these adaptations were necessary for them to survive.
However, you can still underwater them. If their reserves become depleted and you don’t water them, they can become stressed.
Signs of underwatering are similar to overwatering:
- Yellowing leaves. The upper leaves of the orchid are typically the first to show signs of stress due to insufficient water. They may become wrinkled and develop yellow or brown spots.
- Wrinkled pseudobulbs. If the plant’s water reserves are diminished, its pseudobulbs will appear shriveled.
- Slow growth. Without proper watering, orchids won’t grow very much at all. They may not even bloom as expected.
How to Fix it
If you believe your plant isn’t getting enough water, you need to increase your watering schedule. Typically, these plants need water every 1 – 2 weeks. However, this can vary from plant to plant.
We recommend checking the potting soil regularly for dryness. Once the soil is dry to about an inch deep, the plant needs to be watered. Use this method to monitor when your plant needs more water for a few months to determine your plant’s exact needs.
You may also be watering incorrectly. When you water, give your orchid a thorough soaking. Water should flow through the pot’s drainage holes, ensuring that the entire root system receives moisture.
Water at the root level to ensure that the leaves don’t get very wet.
Orchids also need a humid environment and may dry out if the air doesn’t have enough moisture. You can increase your home’s humidity levels by using a room humidifier, humidity tray, or misting around your orchid.
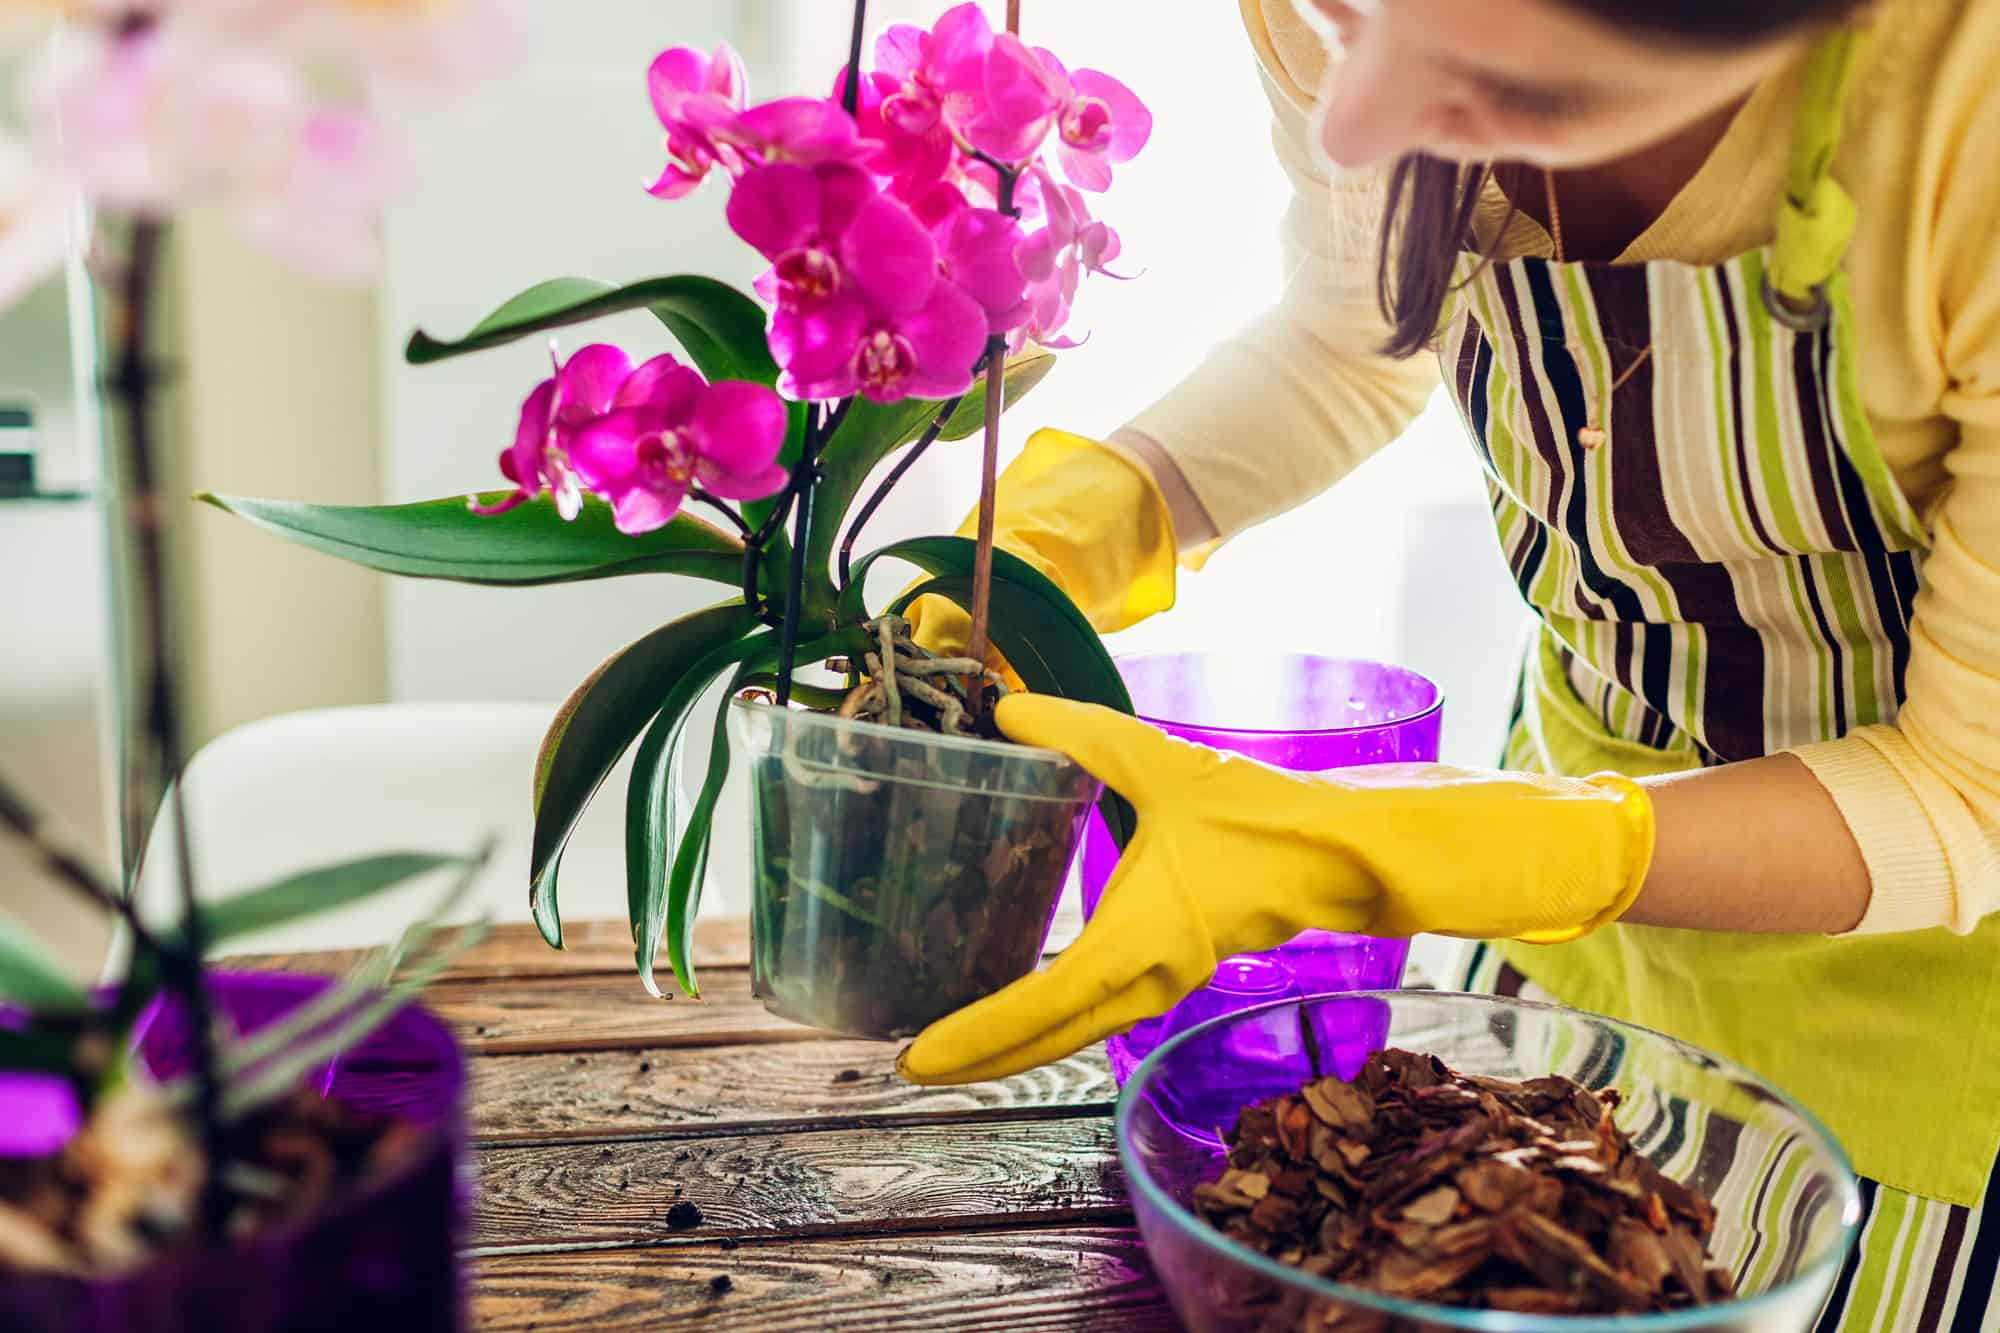
3. Root Problems
Being in improper soil or having too much water can develop a range of root issues in orchids
©iStock.com/sutan abraham
Your orchid’s roots are vital for the plant’s health. While you don’t see the roots, it’s important not to overlook them. Their job is to absorb water and nutrients, anchor the plant in the soil, and store water and other nutrients. If the orchid’s roots are compromised, it will hinder your plant’s ability to live.
There are many types of root problems, but they all have similar symptoms:
- Yellowing leaves. As you might guess, root problems can lead to yellowing leaves. If the roots cannot provide the leaves with what they need, they will become stressed.
- Soft or mushy roots. Roots should never be soft, mushy, or brown. Instead, they should be firm and either green or white.
- Drying and shrinking pseudobulbs. If your plant isn’t receiving water from the roots, it will start to use the water stores in its pseudobulbs.
How to Fix it
It can be hard to diagnose and fix root problems. In many cases, you will need to remove the orchid from its pot and examine the roots to determine the underlying cause. While you’re there, trim away any damaged or dead roots using scissors or running shears. Dead roots aren’t helping the plant and may actually spread diseases.
Next, repot your orchid into a new pot with fresh potting soil. Be sure it is a very well-draining mix, as plenty of air circulation will help your plant’s roots heal.
Repotting your plant and trimming the roots will help solve most root problems, even if you don’t figure out exactly what the problem is.
4. Nutritional Deficiencies
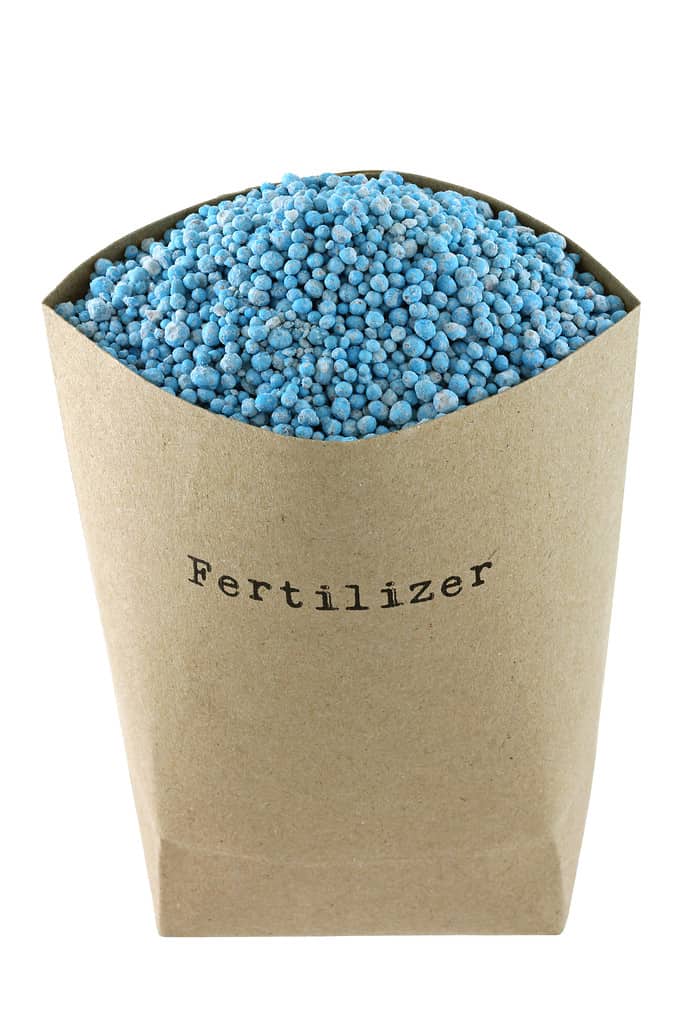
Fertilizer is absolutely necessary for potted orchids.
©sasimoto/Shutterstock.com
Orchids require a range of nutrients to survive, which they receive from their soil. If they don’t receive the correct nutrients, their leaves can shrivel, turn yellow, or fall off.
The primary nutrients orchids require are nitrogen (N), phosphorus (P), and potassium (K), often represented by the N-P-K ratio on fertilizer labels. In addition to these macronutrients, orchids also benefit from secondary nutrients like calcium (Ca), magnesium (Mg), and sulfur (S), as well as various micronutrients such as iron (Fe), manganese (Mn), zinc (Zn), and copper (Cu).
All of these nutrients are needed in different amounts. Without them, several problems can occur:
- Yellow leaves. Often, orchids will develop yellow leaves from practically any deficiency. However, the veins on the leaves may stay green, which is often linked with a lack of nitrogen.
- Brown or black spots. If the plant has brown or black spots on its leaves, it could indicate a calcium or magnesium deficiency.
- Diminished growth. A plant that isn’t receiving the correct nutrients won’t have what it needs to grow, either.
How to Fix it
Luckily, fixing these nutritional deficiencies is often as straightforward as fertilizing the plant. Usually, orchids need a balanced fertilizer. You’ll want to look for a formula with an N-P-K ratio of around 20-20-20.
Preferably, you should have your plant on a fertilization schedule. Because orchids are commonly planted in pots, they can only receive new nutrients from fertilizer. You will have to fertilize your plant regulation.
Look at the directions on the fertilizer container you purchase for frequency recommendations. Usually, you’ll need to fertilize at half-strength every month or so during the growing season. You may not have to fertilize at all during the dormant season.
Pay attention to how your orchid responds to fertilizer. You may need to adjust the type of fertilizer or frequency of fertilization based on how your orchid responds. Don’t over-fertilize, as this can lead to a range of issues.
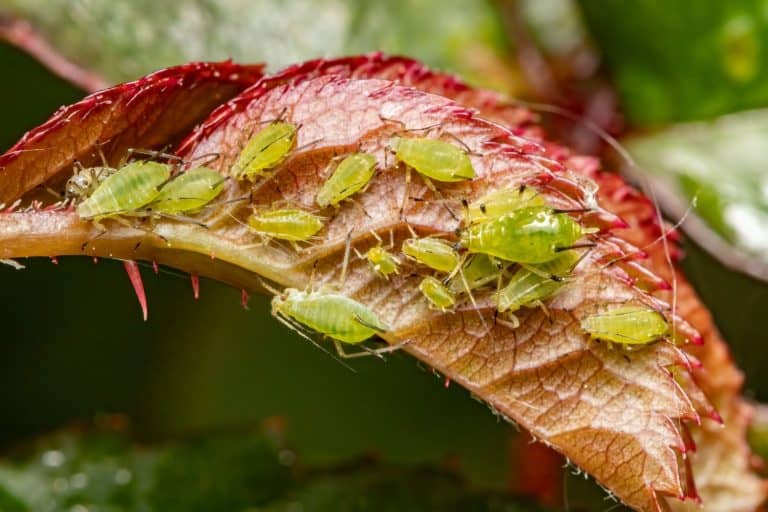
5. Pests and Diseases
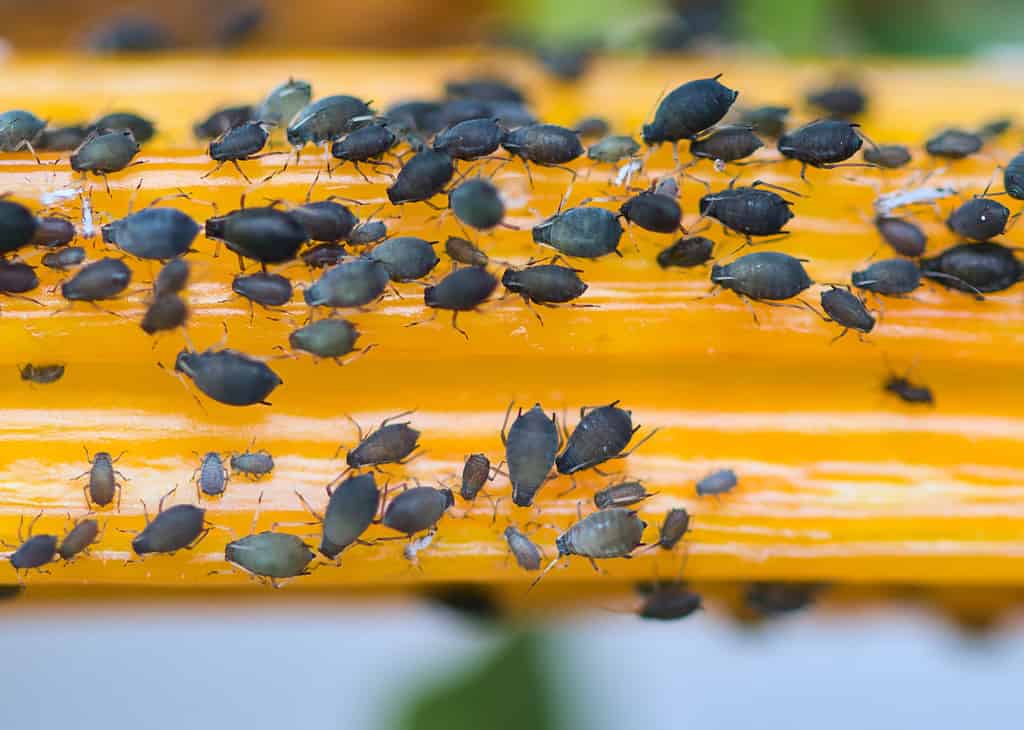
Aphids can cause problems for plants if there are too many of them. An infestation can quickly leave your orchid wilted.
©iStock.com/Ewa Saks
Orchids can fall victim to many different pests and diseases (even in a pot inside your house). You may think there is no way for pests to find your orchid if it’s on a windowsill in your home, but they can be exceptionally determined.
Aphids, mealybugs, spider mites, scale insects, and thrips can all cause leaf damage. If the leaves become damaged, they can become yellow and wilt. Various diseases can also stress out the plant and reduce its ability to suck up nutrients and water, which leads to yellow leaves.
You’ll need to look at your plant very closely to determine the pest or disease causing the problem:
- Visible pests. Look at your orchid’s leaves, stems, and roots as closely as possible for signs of pests. Check under the leaves well (aphids like to hide here). You may see small insects, webs, and sticky residue.
- Unusual spots and discoloration. Discolored spots, lesions, or moldy growth on leaves can indicate the presence of disease. Often, diseases will attack the leaves. How they attack the leaves can help you determine the exact disease.
- Leaf damage. Most pests will cause visible damage to the leaves, like curling or stippling. Of course, yellowing usually occurs with this damage.
How to Fix it
You’ll need to identify the specific pest or disease affecting your orchid. Accurately diagnosing the plant is crucial to treating it, as different pests and diseases all have different treatments.
Isolate the affected orchid from healthy plants to prevent the issue from spreading. Depending on the problem, treatments may include insecticidal soaps, oils for pests, or fungicides for diseases.
To prevent further issues, you’ll need to inspect your plants regularly. Getting it figured out early can prevent complications, and it is often easier to treat, too.
A healthy, stress-free orchid is also much less likely to fall prey to diseases or pests. Therefore, it’s important to follow the other tips we provided in this article about watering and fertilizing.
Often, these issues go hand-in-hand with pests and diseases.
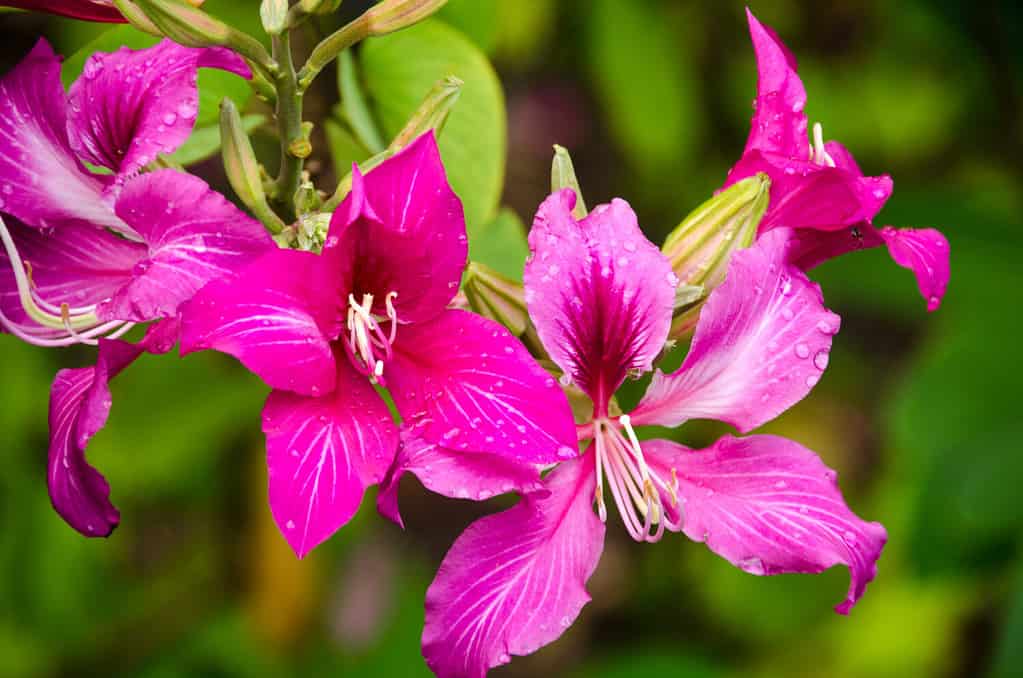
Can An Orchid Bounce Back from Yellowing Leaves?
Your orchid can recover from yellowed leaves if you address the cause.
©iStock.com/Maryviolet
Yes, orchids can indeed bounce back from yellowing leaves if the underlying issue causing the yellowing is identified and addressed promptly. An orchid with yellow leaves isn’t just going to “get better.” You need to figure out why the leaves are yellow and fix the problem.
Orchids cannot live with yellowing leaves forever. They will continue to get worse and eventually die.
Once you fix the underlying issue, provide optimal care to ensure your orchid recovers. Provide the right lighting conditions and adequate humidity. Orchids are pretty resilient, but your plant may be less resilient while recovering.
It may take some time for your orchid to bounce back. It’s important to be patient. You can watch for signs of new growth and healthy leaves, indicating your plant is getting better.
Summary of Most Common Reasons Orchid Leaves Turn Yellow and How to Fix It
| Number | Reason |
|---|---|
| 1 | Overwatering |
| 2 | Underwatering |
| 3 | Root Problems |
| 4 | Nutritional Deficiences |
| 5 | Pests and Diseases |