
The butterfly is widely considered one of the most beautiful creatures by both children and adults. Luckily, insects can be preserved for study after they have died, and the butterfly is no exception. Whether you want to display it in a jar, in resin, in a shadowbox, or mount it on a board or in a frame, you need to know how to keep a deceased butterfly from disintegrating. Here are six simple steps to explain how to preserve a butterfly so it will last for years to come.
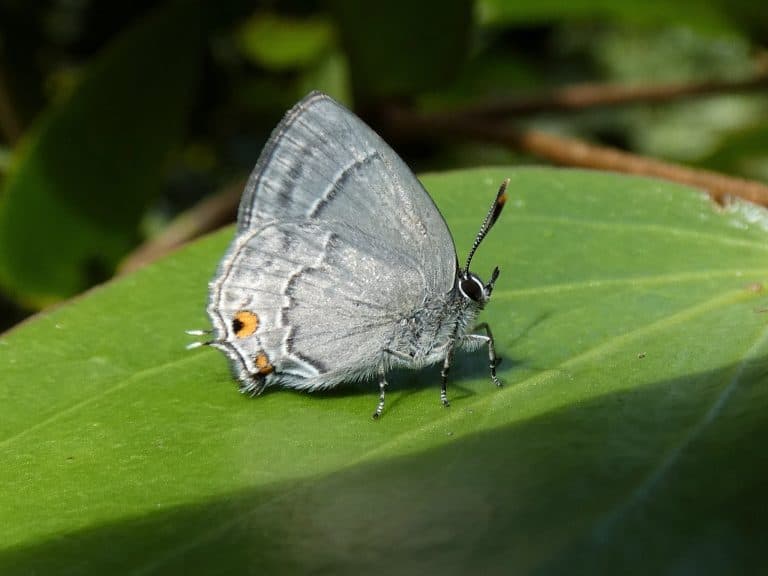
Step 1: Choose a Butterfly
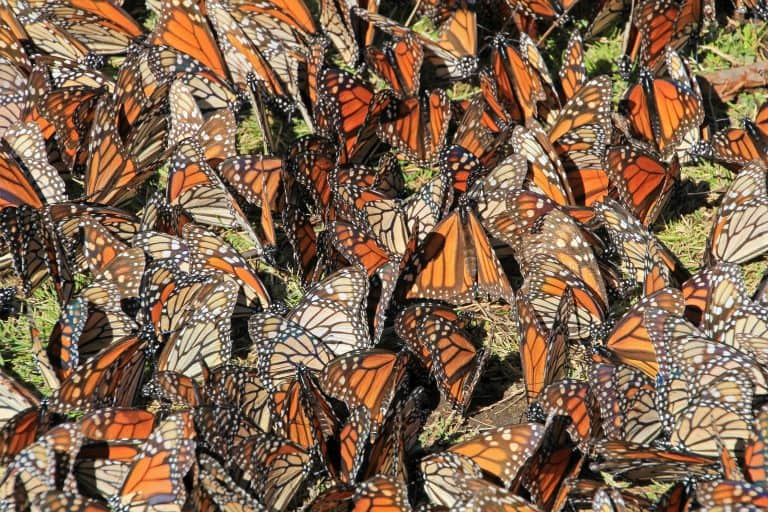
A lepidopterist is a person who studies or collects butterflies.
©HASIHOLAN SIAHAAN/Shutterstock.com
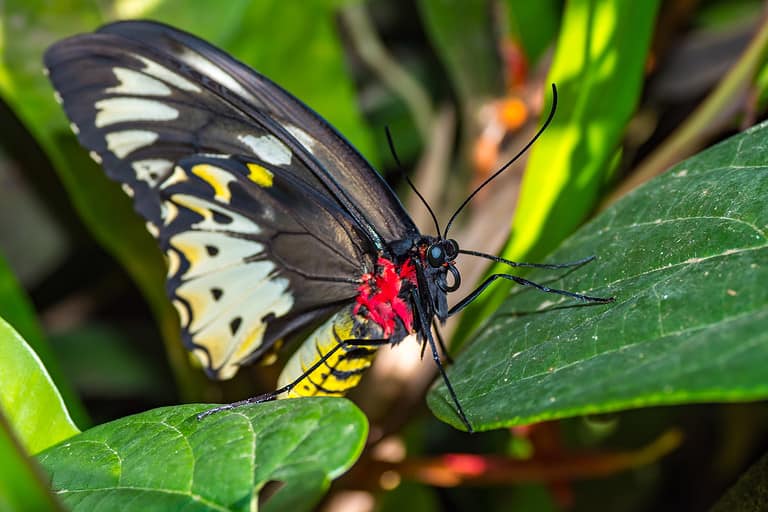
We don’t recommend harming butterflies to collect them. Collecting a butterfly ideally involves finding a dead butterfly outside. However, if you cannot find one or you have a certain species in mind, your best option is to purchase a caterpillar from a butterfly farm.
You’ll be able to watch as it turns into a pupa, then into a butterfly. Once it dies of natural causes, you’ll have your butterfly specimen, which you can place in an envelope with mothballs until you are ready to start mounting it.
Step 2: Collect Supplies
Handling and mounting your specimen require specific tools. The following list includes supplies you will need:
- Stainless steel insect pins, size two
- A piece of Styrofoam or a spreading board that is bigger than the butterfly
- Wax or tracing paper
- Insect pinning forceps
- A glue gun
- An airtight glass jar or plastic container with a lid
- Paper towels
- Mesh
- Rubbing alcohol
Step 3: Relax the Butterfly
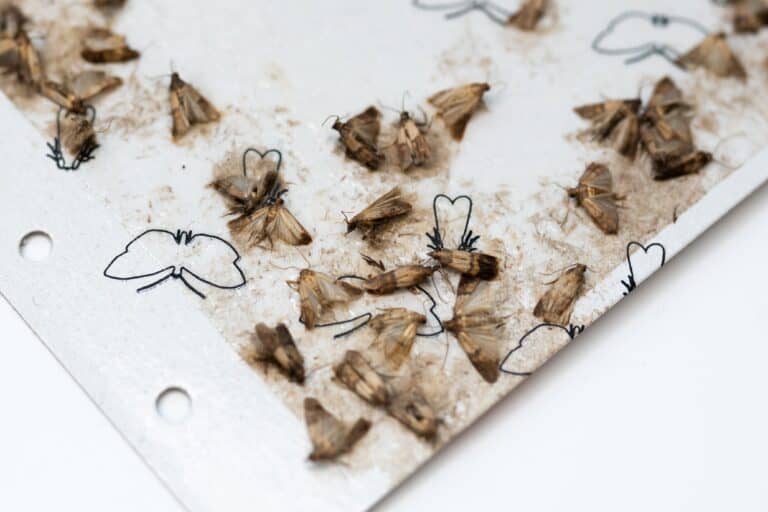
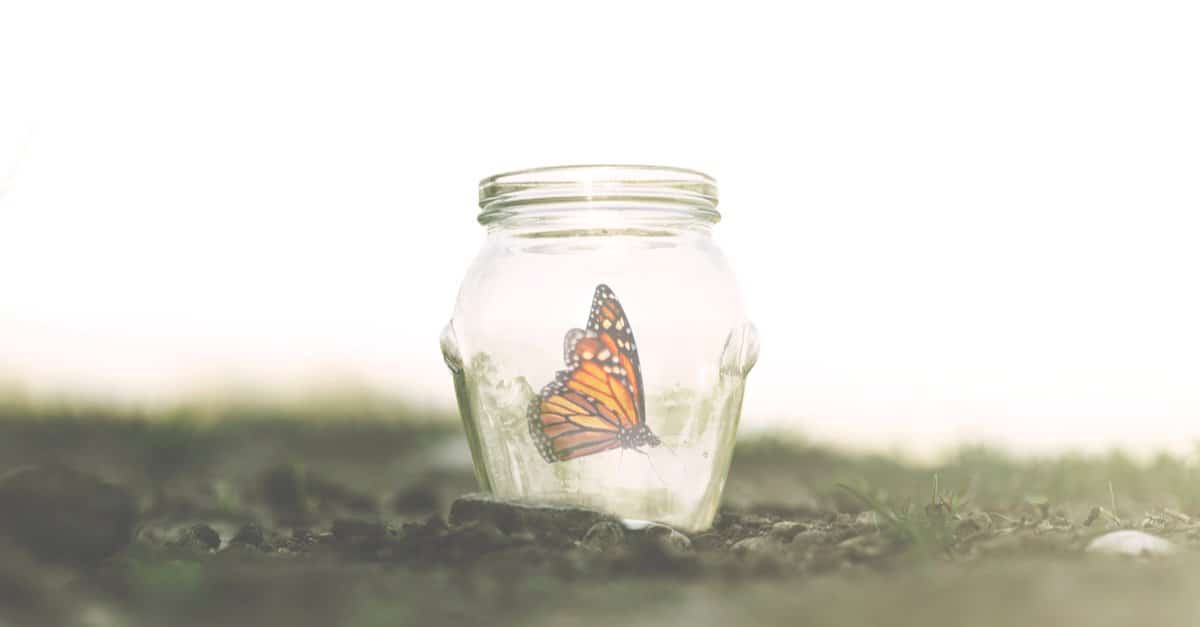
If your specimen has been dead for some time, you will need to rehydrate it first.
©cuttingtool/Shutterstock.com
The next step is to relax the butterfly for positioning. If your butterfly is still pliable, you can skip this step. However, if it has been dead for a few days, it’s going to be rigid and will need to be rehydrated before you can pin it.
To relax the butterfly, start by putting a damp paper towel that is equal parts water and rubbing alcohol in a jar or container with a lid. The alcohol will prevent mold growth. Lay a piece of mesh on top of the damp paper towel. Then lay the butterfly on top of the mesh. Next, put another damp paper towel in the container, ensuring it does not touch the specimen. Finally, put the lid on the container.
It should normally take no more than one or two days for the butterfly to rehydrate enough to relax, but if you can’t move its wings, you may need three to four days. Check every day to see if it is pliable enough to handle.
Step 4: Mount the Butterfly with Pins
The next step is to mount the butterfly with pins to position it just right for your display. Cover the piece of styrofoam or the spreading board with wax or tracing paper — either a single piece or one piece for each wing to avoid rubbing off the scales — and hold the paper in place with pins on the corners.
Use the forceps to gently place the butterfly on it, then use pins to keep the specimen still. Place them on both sides of the abdomen, between each wing and the abdomen, and then between each wing and the thorax. You can also insert a pin in the middle of the thorax if the specimen is not secure.
Pinning the Wings
Now you are ready to work on each wing. First, place a piece of wax or tracing paper over the opposite wing to protect the scales from your hand. Use a pin on the forewing and gently push on the large vein running along the top margin until the forewing is perpendicular to the body, then place the paper over it.
Pin the paper as close to the wing as possible, taking care not to accidentally push a pin through the wing. When you’re ready to work on the hindwing, use a pin to lift the bottom of the paper out of the way. Repeat the process for the hindwing and then for the other side of the butterfly.
Pinning the Antennae
The last step is to pin the antennae. It is standard practice to pin them into a V-shape. Use the pins to straighten them and position them as close as possible into a V-shape. Once you’re finished, wait at least 48 hours, but up to six days, for the butterfly to completely dry and remain fixed in position. Remove the pins and paper, and your butterfly is ready for display.
Step 5: Display the Butterfly
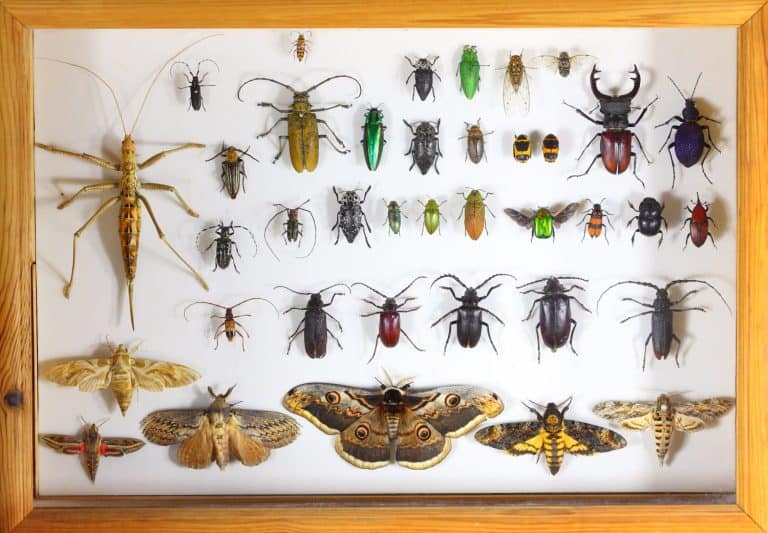
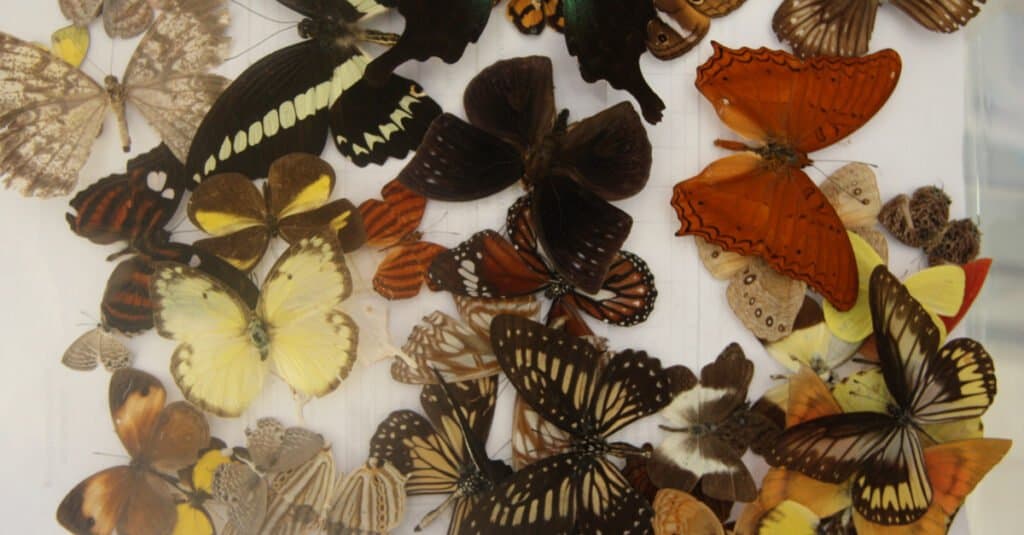
Make sure to keep your display case out of direct sunlight so your specimens will not fade.
©New Africa/Shutterstock.com
There are several ways to put your butterfly on display. Regardless of the one you choose, you’ll want to keep your butterfly away from direct sunlight and in a cool, dry place.
In a Jar, Glass Dome, Vial, or Double-Glass Frame
This display method is simple and doesn’t require any pins. Just make sure it is large enough to hold the butterfly. You’ll also want to use a preservative fluid, such as alcohol, for the vial. For the glass dome, glue the butterfly onto a stem or a piece of wood, and arrange it with other dried materials. Then, glue the glass dome onto the base with clear silicone or epoxy glue. For the double-glass frame, you can either use clear silicone glue to attach the butterfly directly to the glass or glue or pin the specimen onto a piece of cork, which you’ll then glue onto the glass.
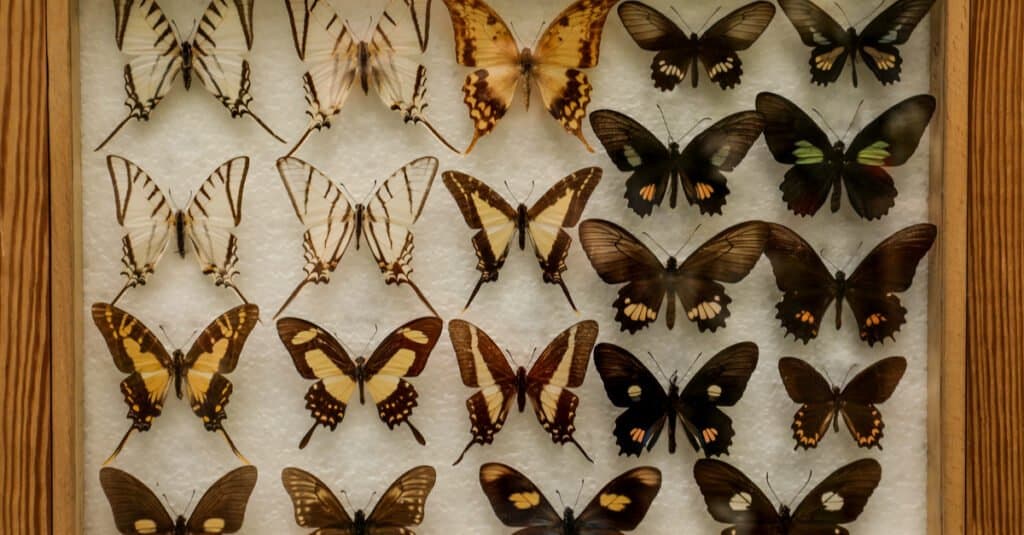
In a Specimen Drawer
A specimen drawer is a large wooden display case with styrofoam inside and a glass cover. It is something of an investment, but if you want to display several butterfly specimens, this is a great option. Some of these specialized wooden cases are designed to keep butterflies preserved for as long as possible. They keep out insects, dust, and other natural elements to prevent the butterflies from degrading over time.
In a Shadowbox
A shadowbox is another way to display your butterfly in a frame. It is available at several craft and retail stores. You don’t need pins for this method, either. All you need to do is glue the butterfly to a glue stick, which is clear and unobtrusive. Alternatively, you can use a different type of storage box, such as a Schmitt box, Cornell drawer, or a small wooden cabinet.
In Resin
For this method, you’ll need clear casting resin, rubber molds, and a silicone mat, all of which you can buy from a craft store. The resin comes with a catalyst (hardener) to make it set, which is toxic, so you’ll also need disposable gloves. This method requires experimentation to center the butterfly, remove air bubbles, and properly cure the resin. The rubber molds should be one to two inches larger than the butterfly’s wingspan.
First, thoroughly mix the resin and the catalyst. Then, you’ll slowly pour a thin base layer into the mold. Use spade-tip forceps to partially submerge the butterfly, and let the resin dry for at least 15 to 20 minutes, or longer if necessary, long enough for it to gel but not harden, while ensuring the butterfly does not move.
Then, add another layer of resin, or two, if the butterfly can still be moved after each additional layer. Let the resin cure for three days before removing it from the mold, ideally at a temperature of 75°F to 85°F or near a space heater. Once it has finished curing and is out of the mold, you can sand it and add a coating of clear plastic spray if you desire.
Step 6: Pest Control
Your butterfly is now on display, and you need to maintain its beauty to make all your work worthwhile. Pest control will prevent other insects from destroying it, especially if you are storing it in the dark. You can achieve this with mothballs, paradichlorobenzene crystals (or another pesticide), fumigant strips, or cedar planks. Note that mothballs will melt styrofoam.
Now that you’re familiar with how to preserve a butterfly in six easy steps, you can turn it into a beautiful piece of art in a jar, frame, shadowbox, resin, or any other display option. Decide which display option is best for you, or experiment with different techniques to preserve it. If you follow these steps correctly, your butterfly is sure to remain intact, clean, and bright for a long time.