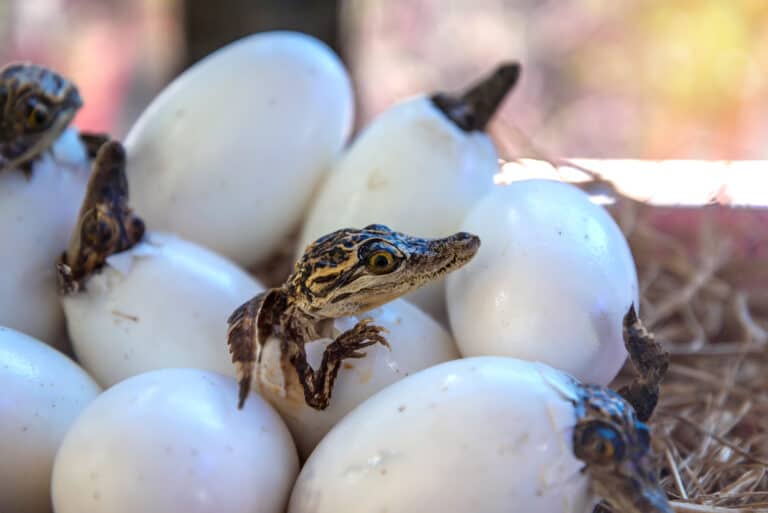
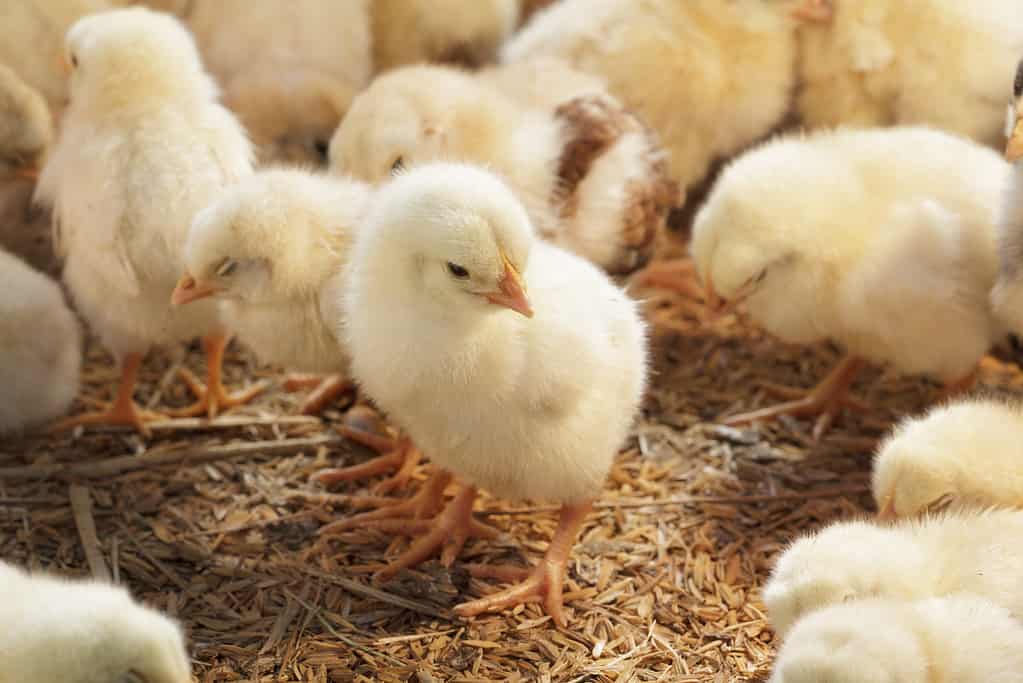
The way chicks are born is fascinating to many. If you’re a farmer and expect new hatchlings, it’s easy to get very emotionally invested in the process. So, what if there was a way to observe this process from beginning to end and have some control over the conditions in hopes of getting the best possible result? Well, let us introduce you to the process of egg candling. With egg candling, you don’t need to use guesswork to figure out the key-hatching details. Whether that’s how far along an embryo is or what the chances of its success will be like. If you want to learn more about this easy and interesting process, read on for all of the most important tips and tricks.
What Is Egg Candling?
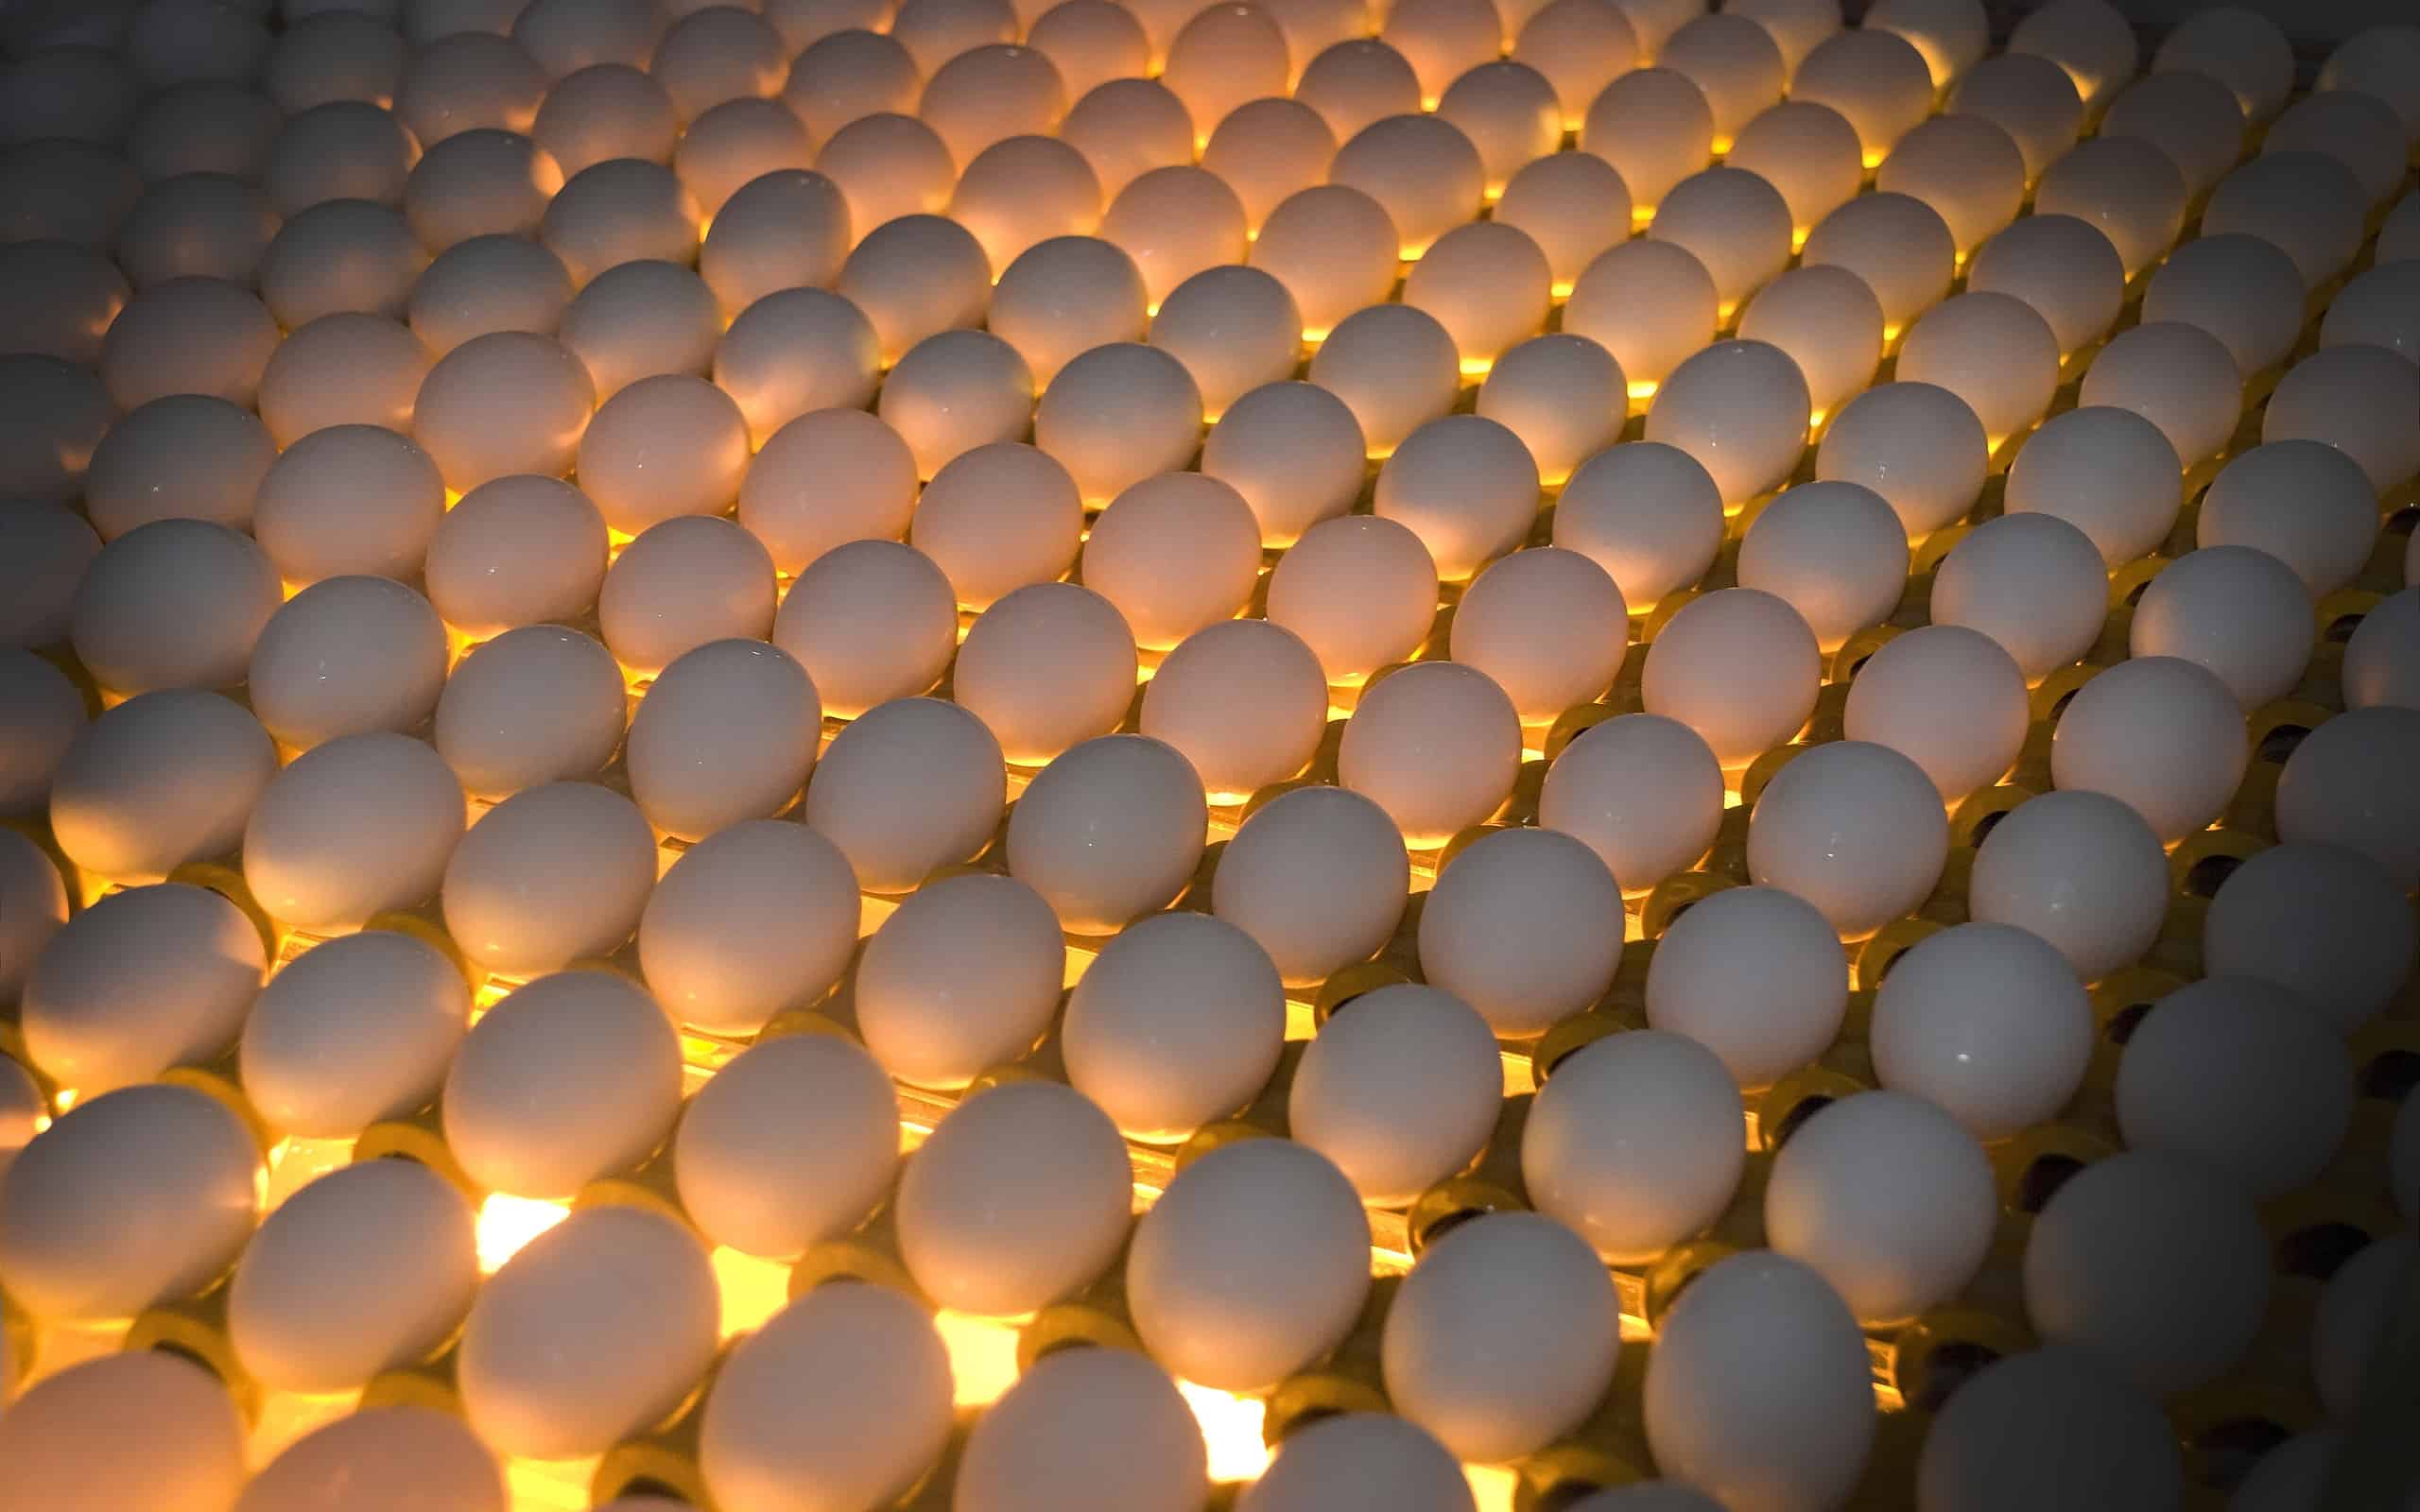
Egg candling provides essential information about the development of chick embryos.
©Oleh Malshakov/iStock via Getty Images
Egg candling is the process of looking at the internal contents of a fertilized egg to check out its developmental processes. It’s non-invasive and quite a simple process. It can help you to detect abnormalities and oversee the quality of the egg. The term “candling” comes from the fact that, initially, this process was used with candles as the primary light source. Of course, things have gotten a bit more sophisticated with time.
This process is centered around a device called an egg candler. These are devices with a concentrated beam of light that allows you to see the inside of the egg. LEDs are the preferred form of light because they are both bright and efficient. Their batteries last for quite a while, which means that there is little need to replace them. They also have a cool light rather than a ton of heat, which used to be a troublesome part of the process.
The process of candling eggs plays a big role in the poultry industry. It’s essential to make sure that anything problematic is removed as soon as possible and that the remaining eggs have excellent conditions for their growth. This isn’t something that’s exclusive to massive poultry farms, either! Small-scale farms also value the importance of keeping healthy chickens, and this helps them do just that.
Why Bother Candling Eggs?
By candling eggs, you can make sure that the chicks that have the most potential to hatch are given the utmost attention.
©Toa55/iStock via Getty Images
As stated earlier, candling eggs isn’t required to have successful hatching. But it can definitely make the process easier for several reasons. Here are some of the most compelling reasons to start candling your eggs.
Optimize the Likelihood of Hatching
By using candling, you can identify and remove any eggs that are infertile or otherwise not developing. Doing so early on is optimal because otherwise, these eggs take up precious incubator space. Even worse is that these eggs can become a bacterial breeding ground and can, in turn, contaminate even more eggs. If you give the healthy eggs the best chance at developing, you’ll have better overall results.
Monitor Development
The most clear, obvious reason to candle eggs is the opportunity to witness the embryonic development firsthand. You can get a glance at the most intimate parts of the growth of the chick, and these insights can often prove to be invaluable! It’s a way for you to connect more intimately to this part of nature, as well as learn new things about the way that a chick’s anatomy is structured.
Help With Efficiency
Candling is a great way to help with resource efficiency, which is a key part of sustainable farming. If you identify the bad eggs early on, you can avoid wasting energy, time, and money on something that was not viable from the start. This is especially significant if you operate on a commercial level when operational costs can have a hefty impact on your bottom line.
Ensure You Have A Healthy Flock
The last reason you should consider candling your eggs is that this can provide you with some pretty essential information about your general flock. If you have knowledge about fertility rates and general chick development, you can make informed choices about what birds to breed and what birds not to. Improving your strategies over time is a great way to build your productivity and ensure that future birds remain healthy and happy.
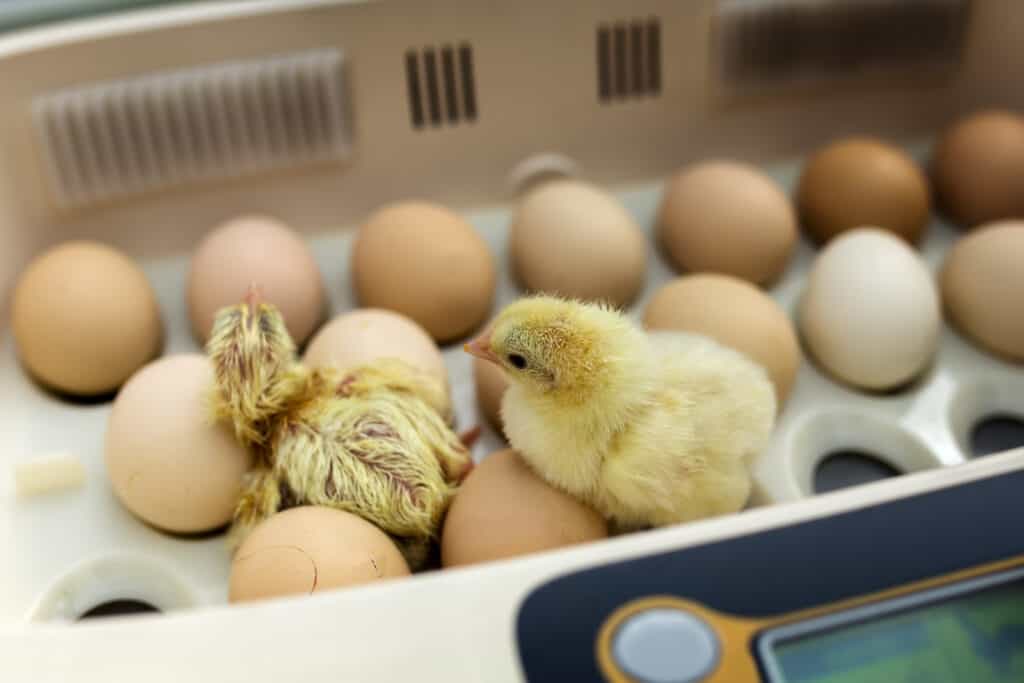
A Step-By-Step Egg Candling Process
When placing the eggs to be candled, make sure the light source comes through the bottom of the eggs, which should be tilted at an angle.
©flariv/iStock via Getty Images
All of this information being thrown at you at once can seem daunting. Don’t worry, though- there are a few easy ways to break down the process. For the sake of summarization, below will be a four-step process of how one can begin candling their eggs for the first time. It’s important to note that you shouldn’t expect to be an expert on your first go. But over time, you’ll certainly make your way into becoming an expert egg candler!
Step One: Preparing The Eggs
The first step is to prepare the eggs to begin the process. To start, clean the eggs gently but thoroughly. Using a slightly damp cloth, gently wipe away any visible dirt or debris. Once the egg is clean, label it with a pencil (don’t use a pen). If you’re monitoring different batches of eggs from various timeframes, make sure to note the date of incubation. Also, something that can be overlooked is their initial temperature. Make sure that before placing the eggs in the incubator, they are at room temperature. If they are too hot or too cold, the results can become inaccurate.
Step Two: Setting Up Your Device
Once you’ve chosen the candling device you wish to use, it’s time to set it up. The following instructions are pretty universal across types of devices, but make sure to read the specific instructions if you’re using a commercial egg candler.
Position the light source for the eggs so that it is shining directly through the larger end of the egg. This gives you the clearest vision of its internal happenings. Also, ensure that the room you’re doing the candling in is sufficiently dark. If necessary, try using a candling box to block out excess light.
Step Three: Handling the Eggs
You have to make sure that, throughout this process, the eggs are handled correctly. As you’re probably well aware, eggs are quite fragile. Avoid shaking or tapping them at all costs. When you’re placing the eggs into the device, place the large end over the light source. Try to tilt it slightly to have different angles of viewing its interior.
Most importantly- manage the time these eggs are exposed to light quite diligently. Limit the time of exposure, as excessive light can greatly harm (or even kill) the developing embryo.
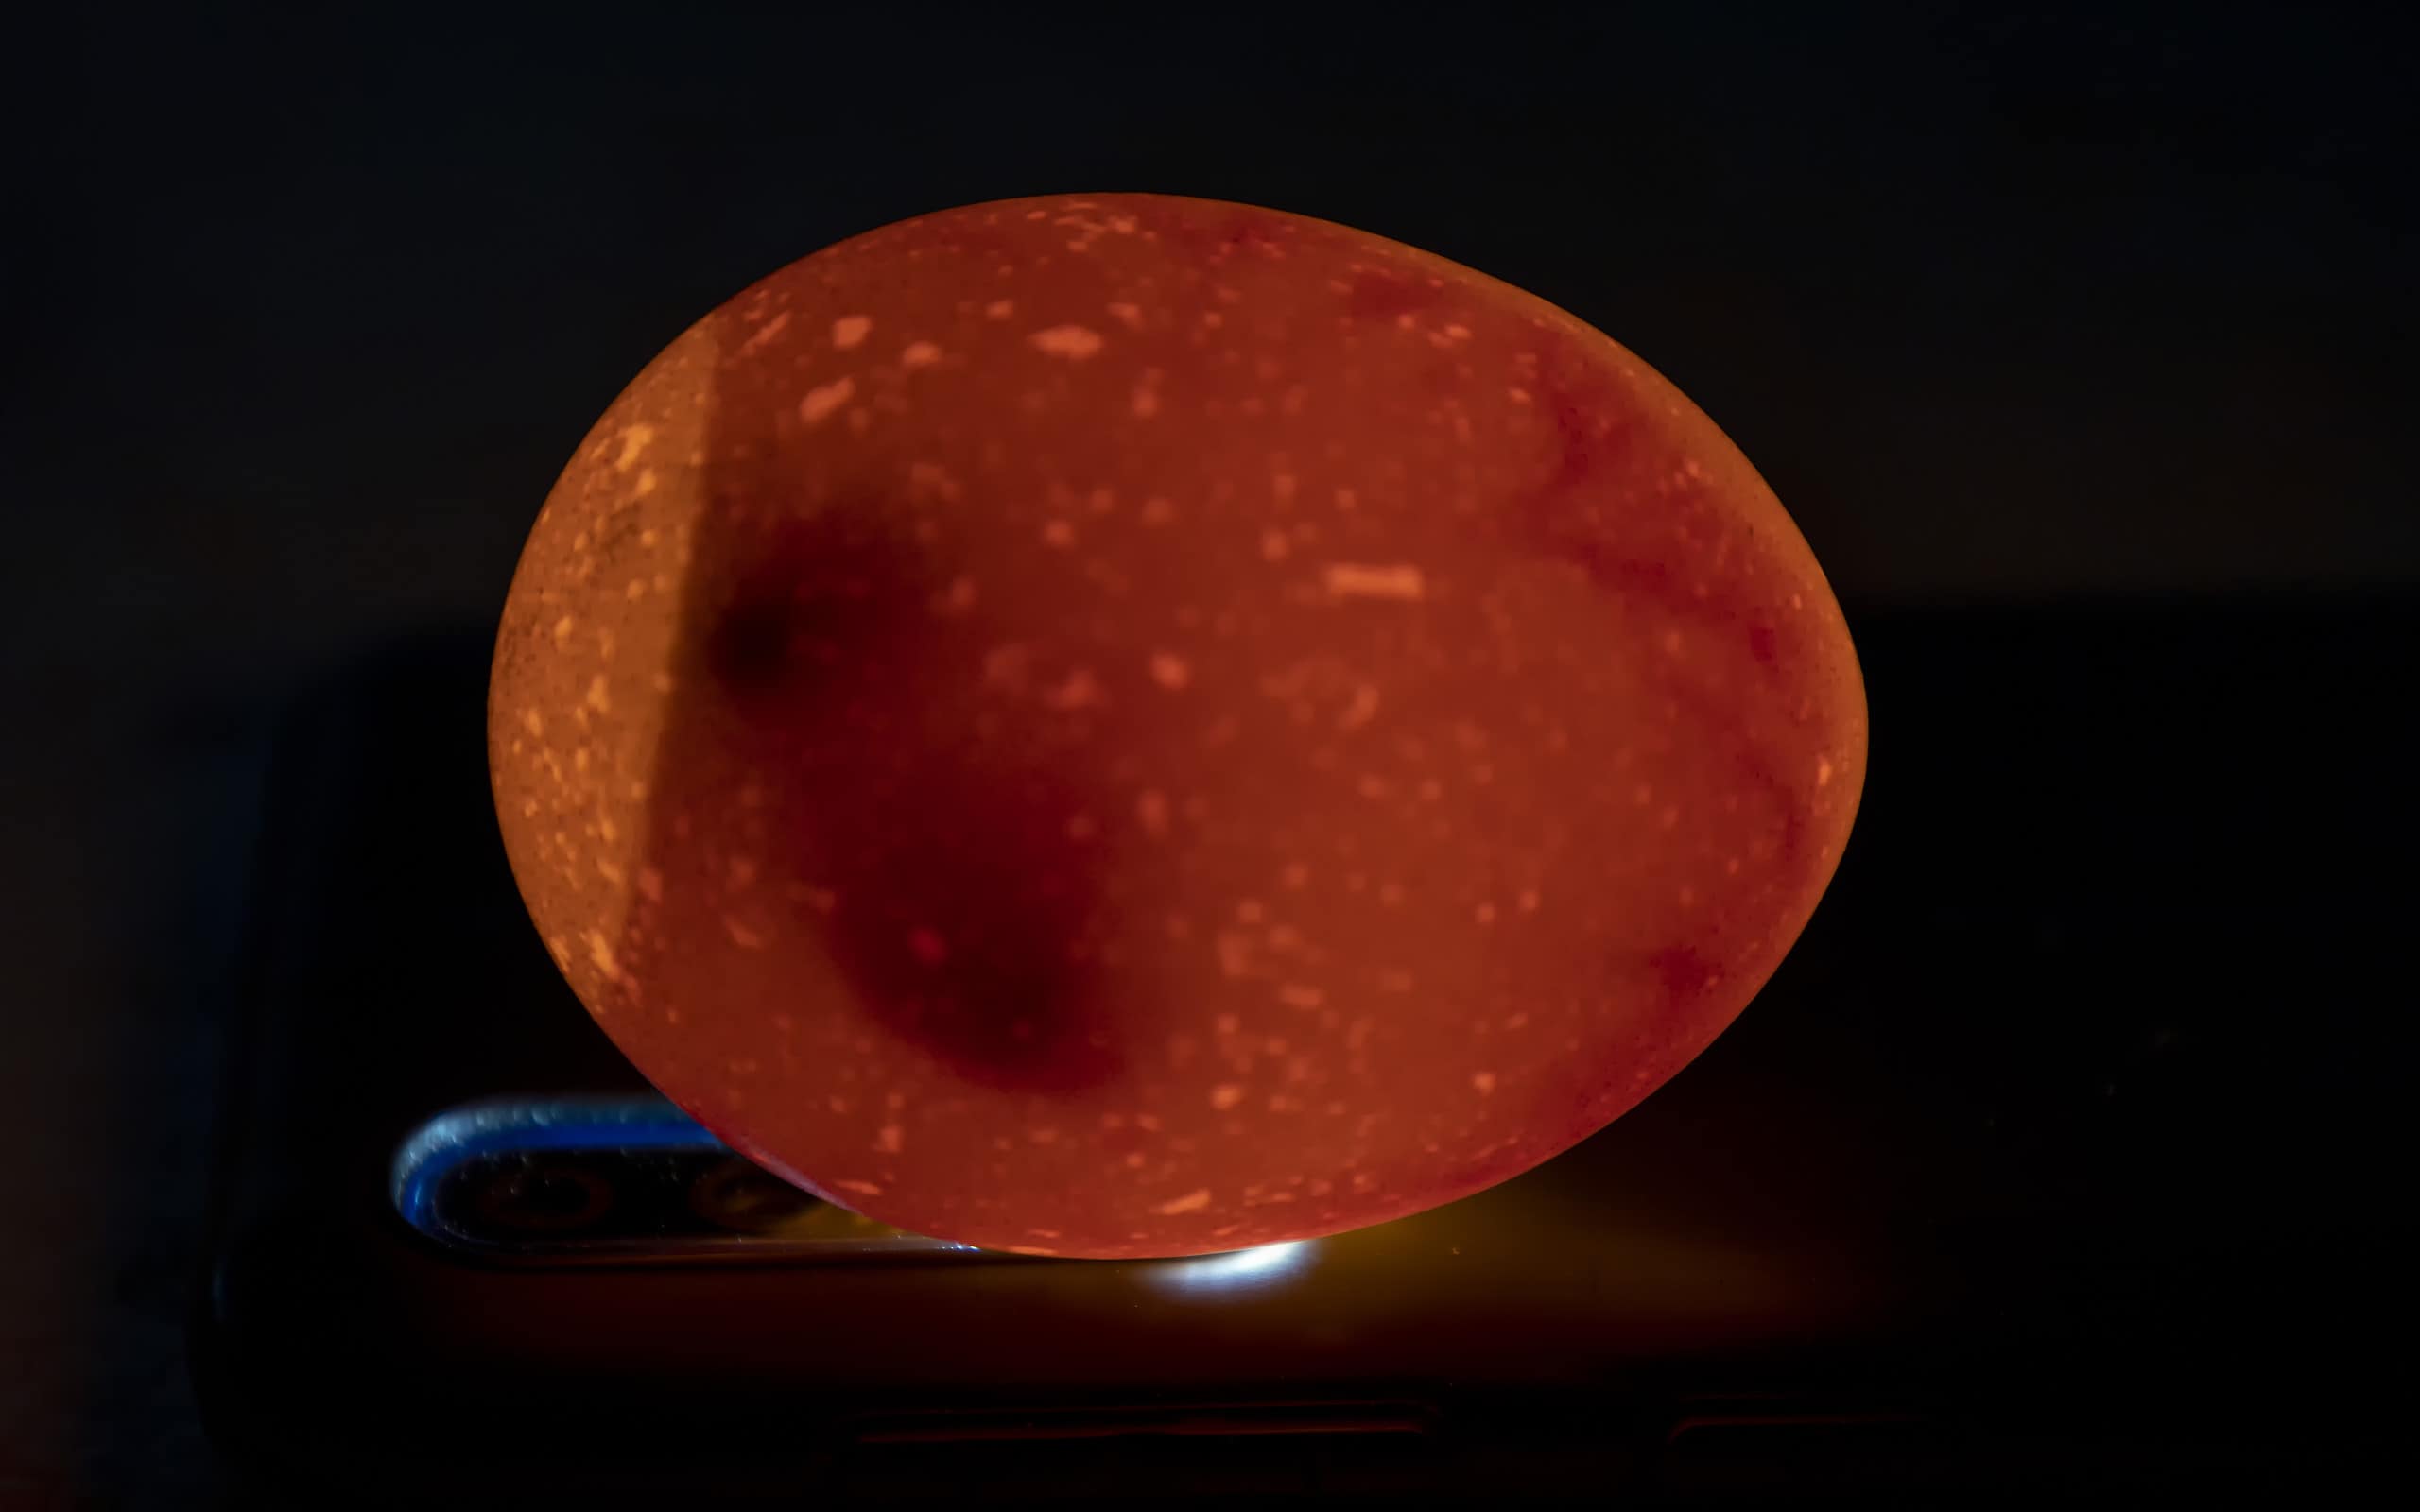
Step Four: Interpreting The Results
There are different developmental stages for these embryos, and as they move along, there are certain things you must look out for. Fertile, healthy embryos will have a well-defined yolk shadow as well as a growing air cell at the large end of the egg. But, infertile eggs will only show the yolk- fertile ones will also show things such as blood vessels and, eventually, a visible embryo.
If your egg has blood rings or blood vessels, this is a sign that the embryo has died. A clear egg is also a bad sign, though, because no visible structures are a telltale sign that the egg was never actually fertile. That, or the embryo died during a very early developmental stage.
Things To Avoid
If you want your chicks to successfully hatch, there are some things you should avoid during the egg candling process.
©Ivan Kurmyshov/Shutterstock.com
Now that you have a pretty solid foundation as to the process of candling eggs, you probably want to know instead what things to avoid. There are actually quite a few things that you should know, so here is a list of some of the most important:
- Don’t candle your eggs every single day, even if you’re tempted to. This can have a negative impact on the development of the embryo, as you’re essentially interrupting the growth process continually.
- The initial egg cleaning is important. Using soiled eggs with lots of dirt can make the results murky at best and incorrect at worst.
- If you leave the eggs in the incubator too long, things can go awry. Try to keep every single session under 30 minutes for desired results.
- Aside from the egg being clean, make sure you are, too! If your hands are grimy and oily, this can clog the egg’s pores and prevent it from getting its necessary oxygen.
Signs You Have A Failed Egg
There are several types of “problem eggs,” or eggs that won’t take to the candling process. There are certainly ways to identify these eggs, and here are some of those.
The first kind of egg is the early quitter, or rather, an egg that has stopped developing midway through the process. This lack of development is likely because the embryo has died. To figure out if this is the case with a particular egg, look for a thick red line during candling. There are also eggs that die as soon as they have been pipped, directly after hatching. This happens because either the chicks have been left inside far too long after being hatched, or because the temperature in the incubator was simply too high.
The other kind of failed egg is one that has been shipped. You see, shipped eggs have a much lower success rate than home-grown ones. Make sure that you take a lengthy look at the eggs that you have shipped in as soon as they arrive. Before even beginning the process, let them settle for a day or so.