
Did you know that Cardiopulmonary Resuscitation (CPR) can be used to save your dog if they stop breathing? You may not want to think about such a scary situation, but emergencies can arise anytime. The best way to provide your loyal companion with a fighting chance at survival is by preparing for worst-case scenarios. Below are the eight essential steps to perform dog CPR so you can be ready to take action until help arrives.
What is Dog CPR?
Every second counts when it comes to performing CPR.
©iStock.com/sanjagrujic
Dog CPR is similar to human CPR by combining compressions and artificial respiration. In an emergency, knowing this life-saving procedure can keep your pet safe. CPR increases the chances of resuscitating your dog if their heart or breathing stops.
But why is CPR necessary? If your dog can’t breathe or their heart stops, their brain no longer gets the oxygen it needs to function. As a result, their kidneys, liver, and other vital organs stop functioning. Respiratory failure also causes brain damage. Therefore it’s crucial to administer CPR as quickly as possible.
If you want to learn the essential steps to perform dog CPR and get real-life practice, you can also take classes to earn a pet CPR certification. That way, you can learn CPR and other first aid skills to keep your pet safe in an emergency.
Why You Should Learn the 8 Essential Steps to Perform Dog CPR
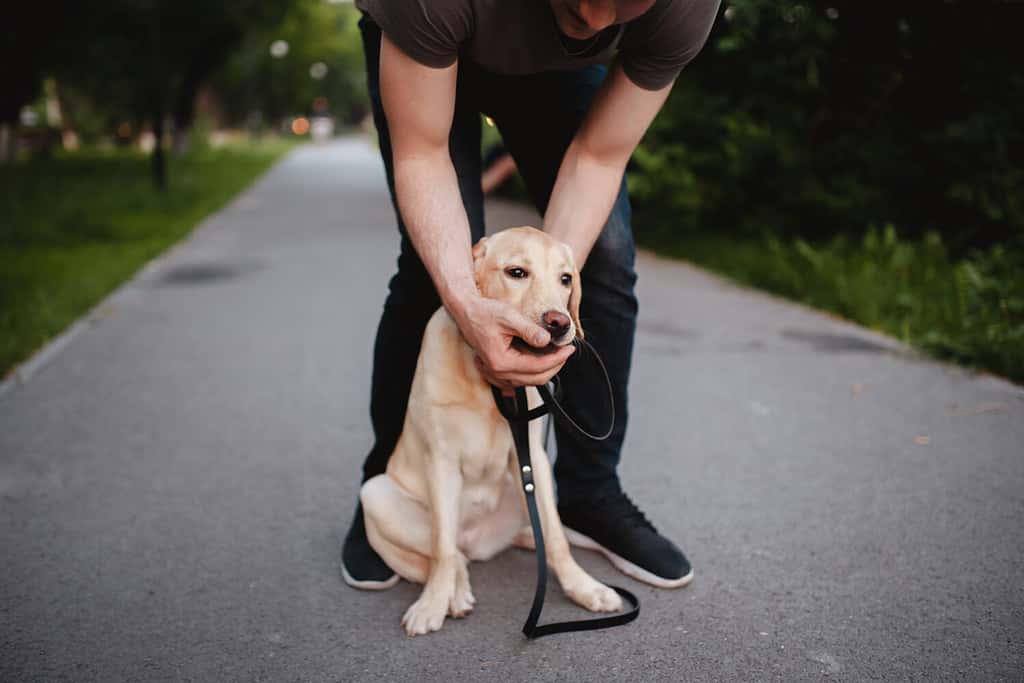
Learning dog CPR can save your canine companion’s life.
©Parilov/Shutterstock.com
Preparing for an emergency is not always possible. But there are steps you can take to be better equipped to handle an emergency. For example, familiarizing yourself with the essential steps to perform dog CPR can help you remain calm because you know what to do.
Although you should never practice CPR on a healthy dog, you can practice locating their pulse and heart so you can find them quickly. You should also have a list of local emergency clinics and know their locations.
All these steps can save crucial time to increase your dog’s chance of survival.
CPR Precautions for Dogs

The physical intensity of CPR can cause injuries, but your veterinarian will treat them.
©iStock.com/Zbynek Pospisil
Ideally, a veterinarian or another professional performs CPR with the help of emergency equipment. However, getting your dog to the clinic in time is not always possible. Emergencies often happen with little to no warning. That’s why it’s crucial to be prepared to step in until help is reached.
Remember that dog CPR is not safe to practice outside of an emergency. CPR is a physically intense procedure that can cause additional injury to the dog, such as broken ribs, a collapsed lung, and physical stress.
But don’t stop performing CPR for fear of hurting your dog. If you believe your dog sustains a broken rib or another injury during the process, continue with softer compressions. Your vet will treat them for all injuries afterward.
8 Essential Steps to Perform Dog CPR
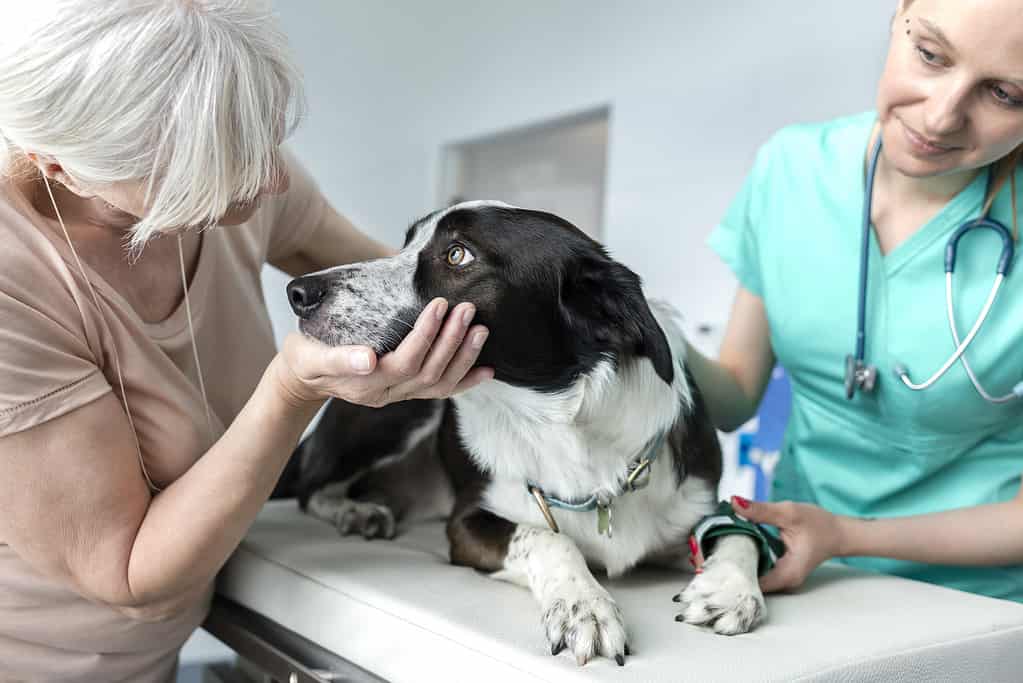
Take your dog to the vet as soon as possible after performing CPR.
©iStock.com/IPGGutenbergUKLtd
Step 1: Check for Breathing and a Pulse
First, open their mouth to see if there are any obstructions. A throat blockage can cut off airflow and interfere with the CPR process. Ensure your dog’s airway is clear before beginning the essential steps to perform dog CPR.
There are two ways to check if your dog is breathing – watch for their chest to rise and fall or hold the back of your hand or the side of your cheek in front of their nose to feel an airflow.
Additionally, the best way to find the heartbeat is to lay your dog on their side and then push the left front elbow toward its chest.
Step 2: Get Into Position for CPR
Position your dog on a flat, stable surface with the right side of their body facing downward. However, lay the dog on their back if they are barrel-chested, such as a pug, boxer, or mastiff.
Next, hold their head and neck as straight as possible to create a clear opening to their airway. Then pull their tongue forward and position it behind their teeth before closing their mouth. Stand or sit behind them and prepare for the next step.
Step 3: Locate the Heart and Prepare for Compressions
Locate your dog’s heart by placing both palms on the broadest part of their ribcage. The heel of one of your hands should be directly above your dog’s heart. Then place the other hand directly above the first hand, intertwining the fingers.
However, this essential step is slightly different for dogs that weigh 30 pounds or less. Instead, hold your hands around their rib cage and splay your fingers on one side of their chest with your thumbs facing the opposite direction. That way, you can hold them more easily.
Keep both of your elbows straight with your shoulders aligned with your hands.
Step 4: Start Chest Compressions
Place your hand in the intercostal space on their chest, then firmly and quickly press down on their ribcage. The pressure should compress the chest to around one-third to one-half of the average depth. Your goal should be to complete 100-120 compressions per minute.
If you are with someone, have them take over after two minutes. Or choose who will perform the compressions and who will give the rescue breaths. Dividing the task is less tiring and minimizes the delay between compressions and breaths, increasing the chances of successful resuscitation.
Otherwise, do your best to keep going with as little time between compressions and breaths as possible until you reach help.
Step 5: Place Your Mouth Over the Airway
Cover their nose and mouth with your mouth for small dog CPR, which is for dogs 30 pounds or less. But for large dog CPR, only cover their nose with your mouth. Then use one of your hands to stop air from coming out of their mouth by holding their muzzle shut. Their mouth needs to be entirely closed.
Step 6: Perform Artificial Respiration
Artificial respiration, or rescue breaths, is the most essential dog CPR step.
Exhale once until you see your dog’s chest rise, then give a second rescue breath. Make sure to blow enough air into your dog’s nose and/or mouth for the chest to rise, then release your lips to let the air back out. Blow hard enough into their nostrils until you see their chest rise. If it does not rise, check again to ensure their mouth is entirely closed.
Take your mouth off their muzzle between breaths to allow air to return. Perform two rescue breaths for every 30 compressions.
Step 7: Squeeze the Abdomen
Put one hand below your dog’s abdomen and the other hand on top of the first hand. Push down and squeeze their belly to restart blood circulation. Squeeze the abdomen for every 30 compressions. However, focus on rescue breaths and chest compressions.
Step 8: Repeat and Check for Breathing
Repeat the process for every 30 chest compressions and two rescue breaths.
Another essential step in performing dog CPR includes monitoring their breathing. While administering CPR, check if your dog begins to breathe independently every one to two minutes. And remember to check their pulse.
If they do not start breathing independently, continue performing artificial respiration until professionals arrive. It’s important to note that some cities offer pet ambulance services. Otherwise, you should call an emergency vet to walk you through the next steps.